AI rendering from Archicad: the 3D window becomes a photorealistic render in a minute, without a render engine
Save the Archicad 3D view as an image, drop it in: RenderThink turns it into a photorealistic render faithful to your volumes, dimensions and materials, in about a minute, with no graphics card and no engine to set up.
14 days, no commitment
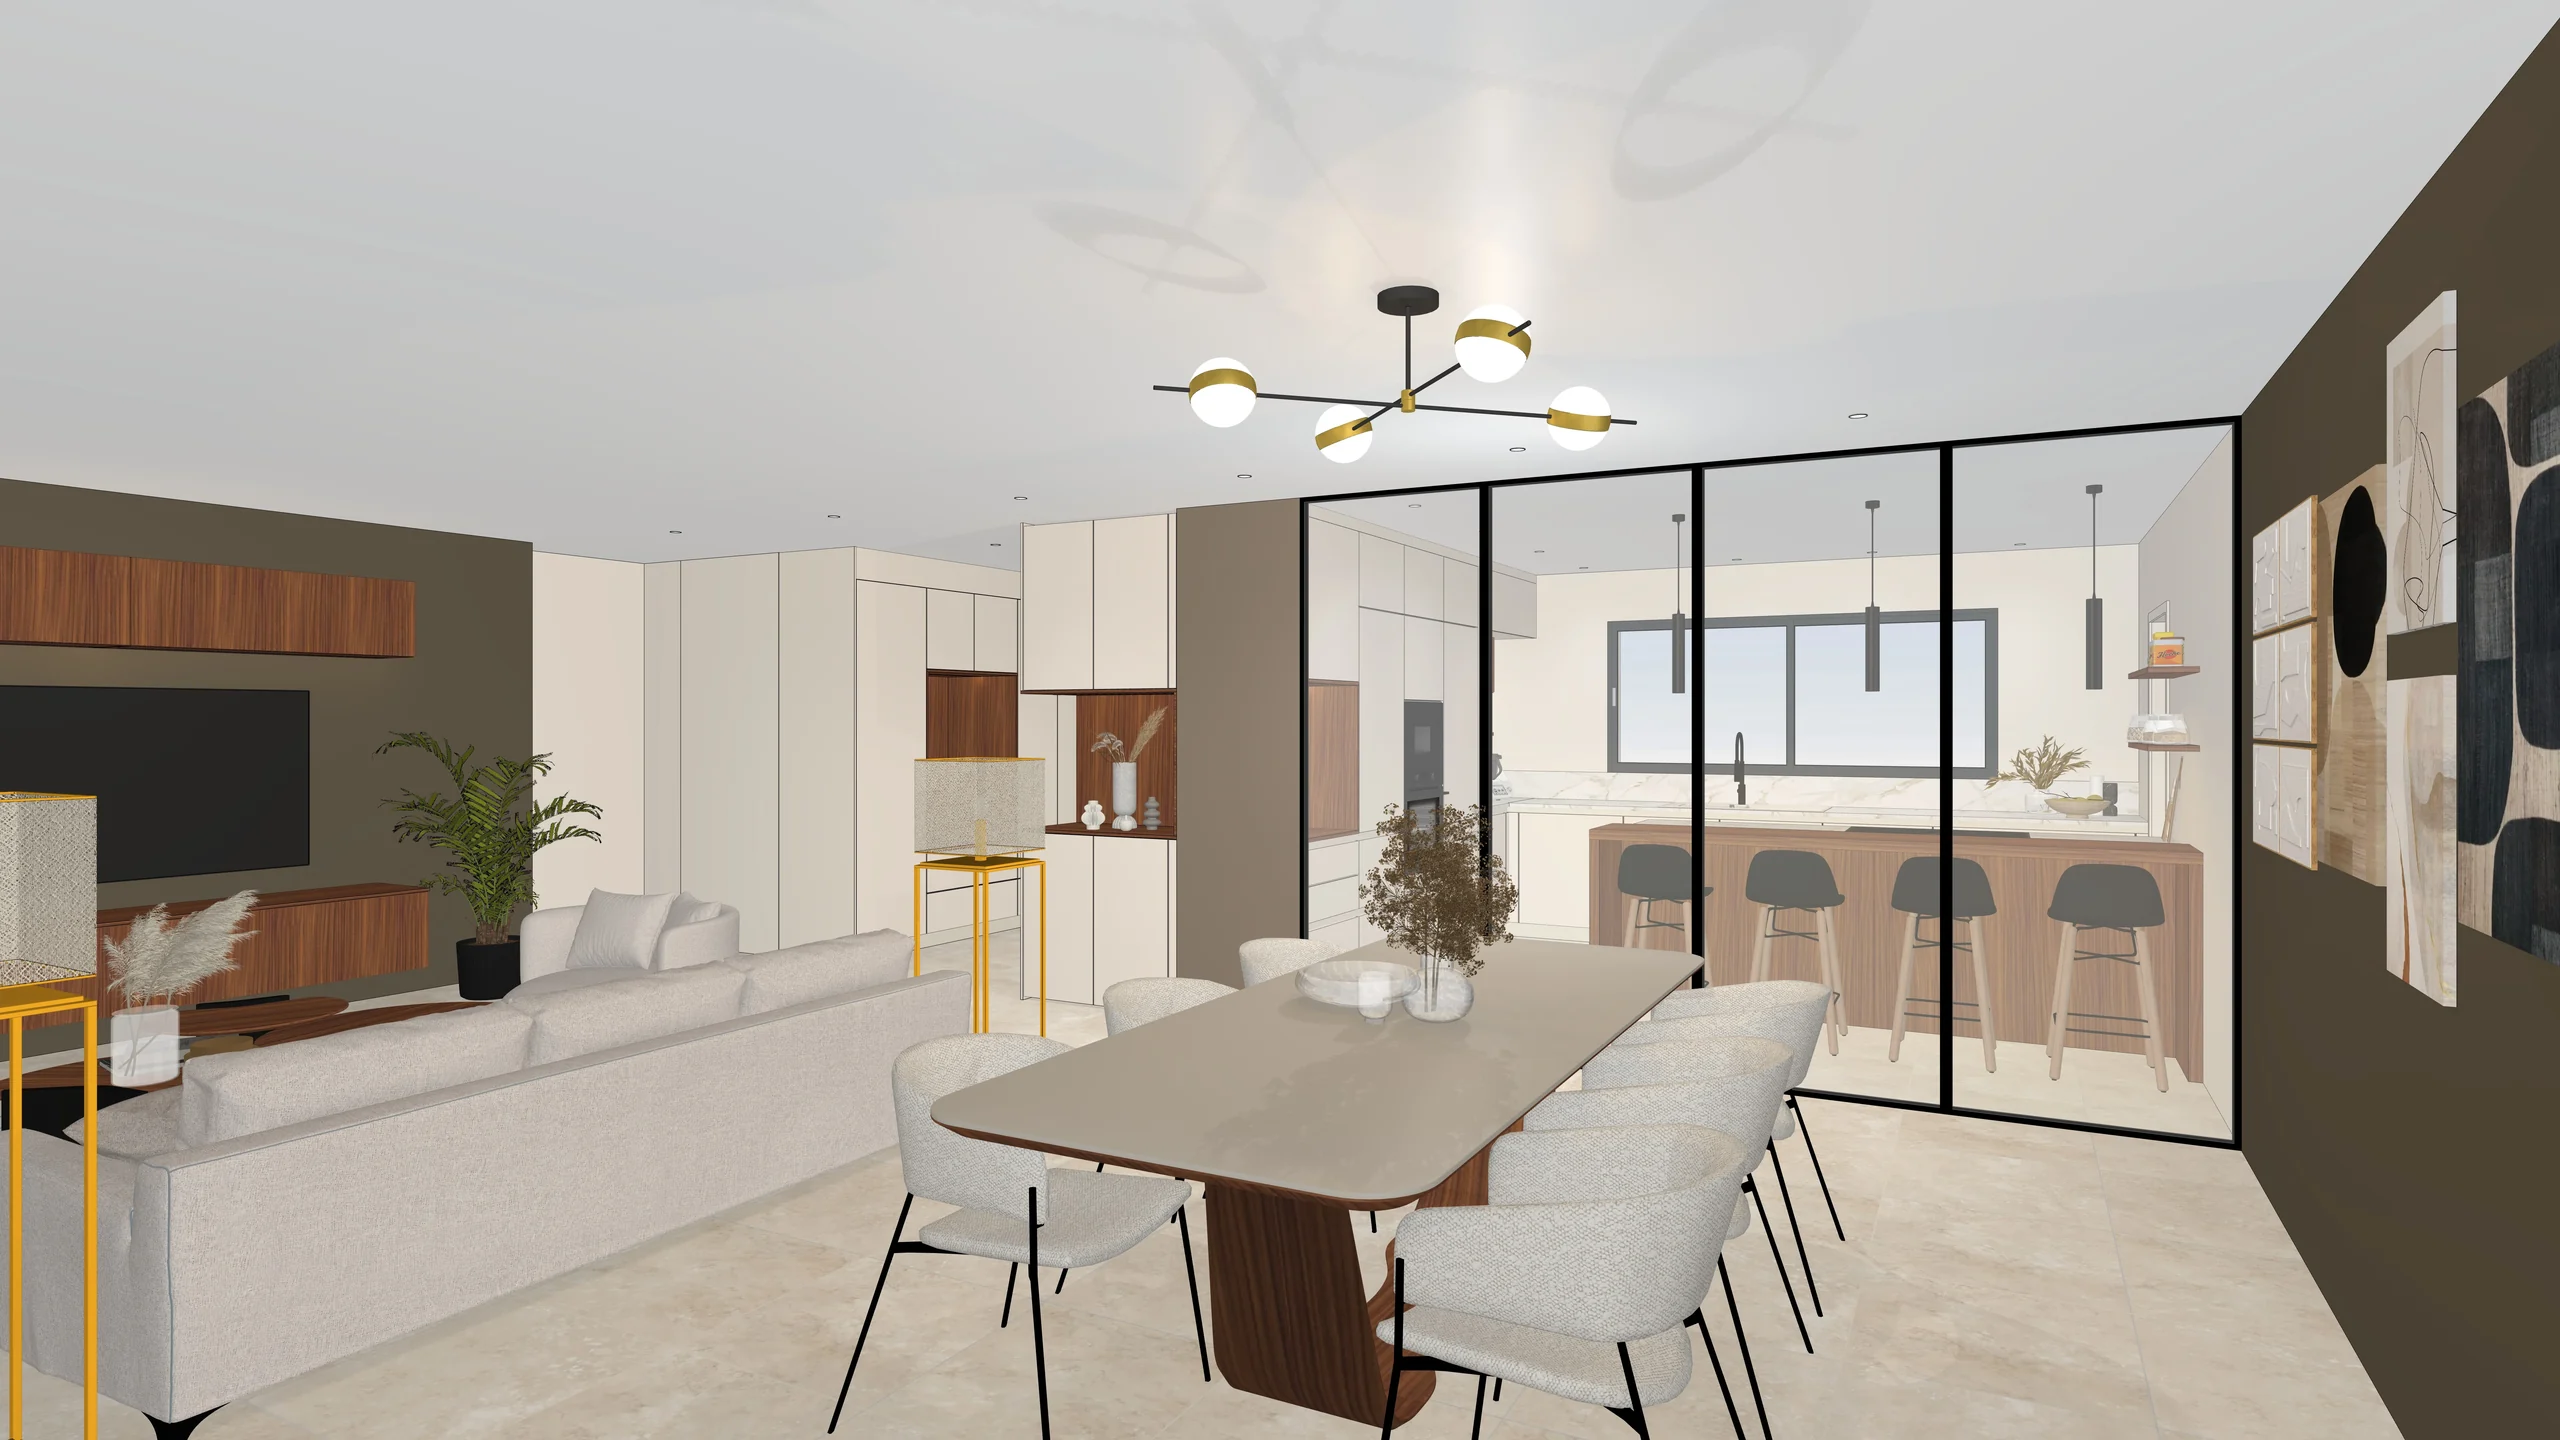
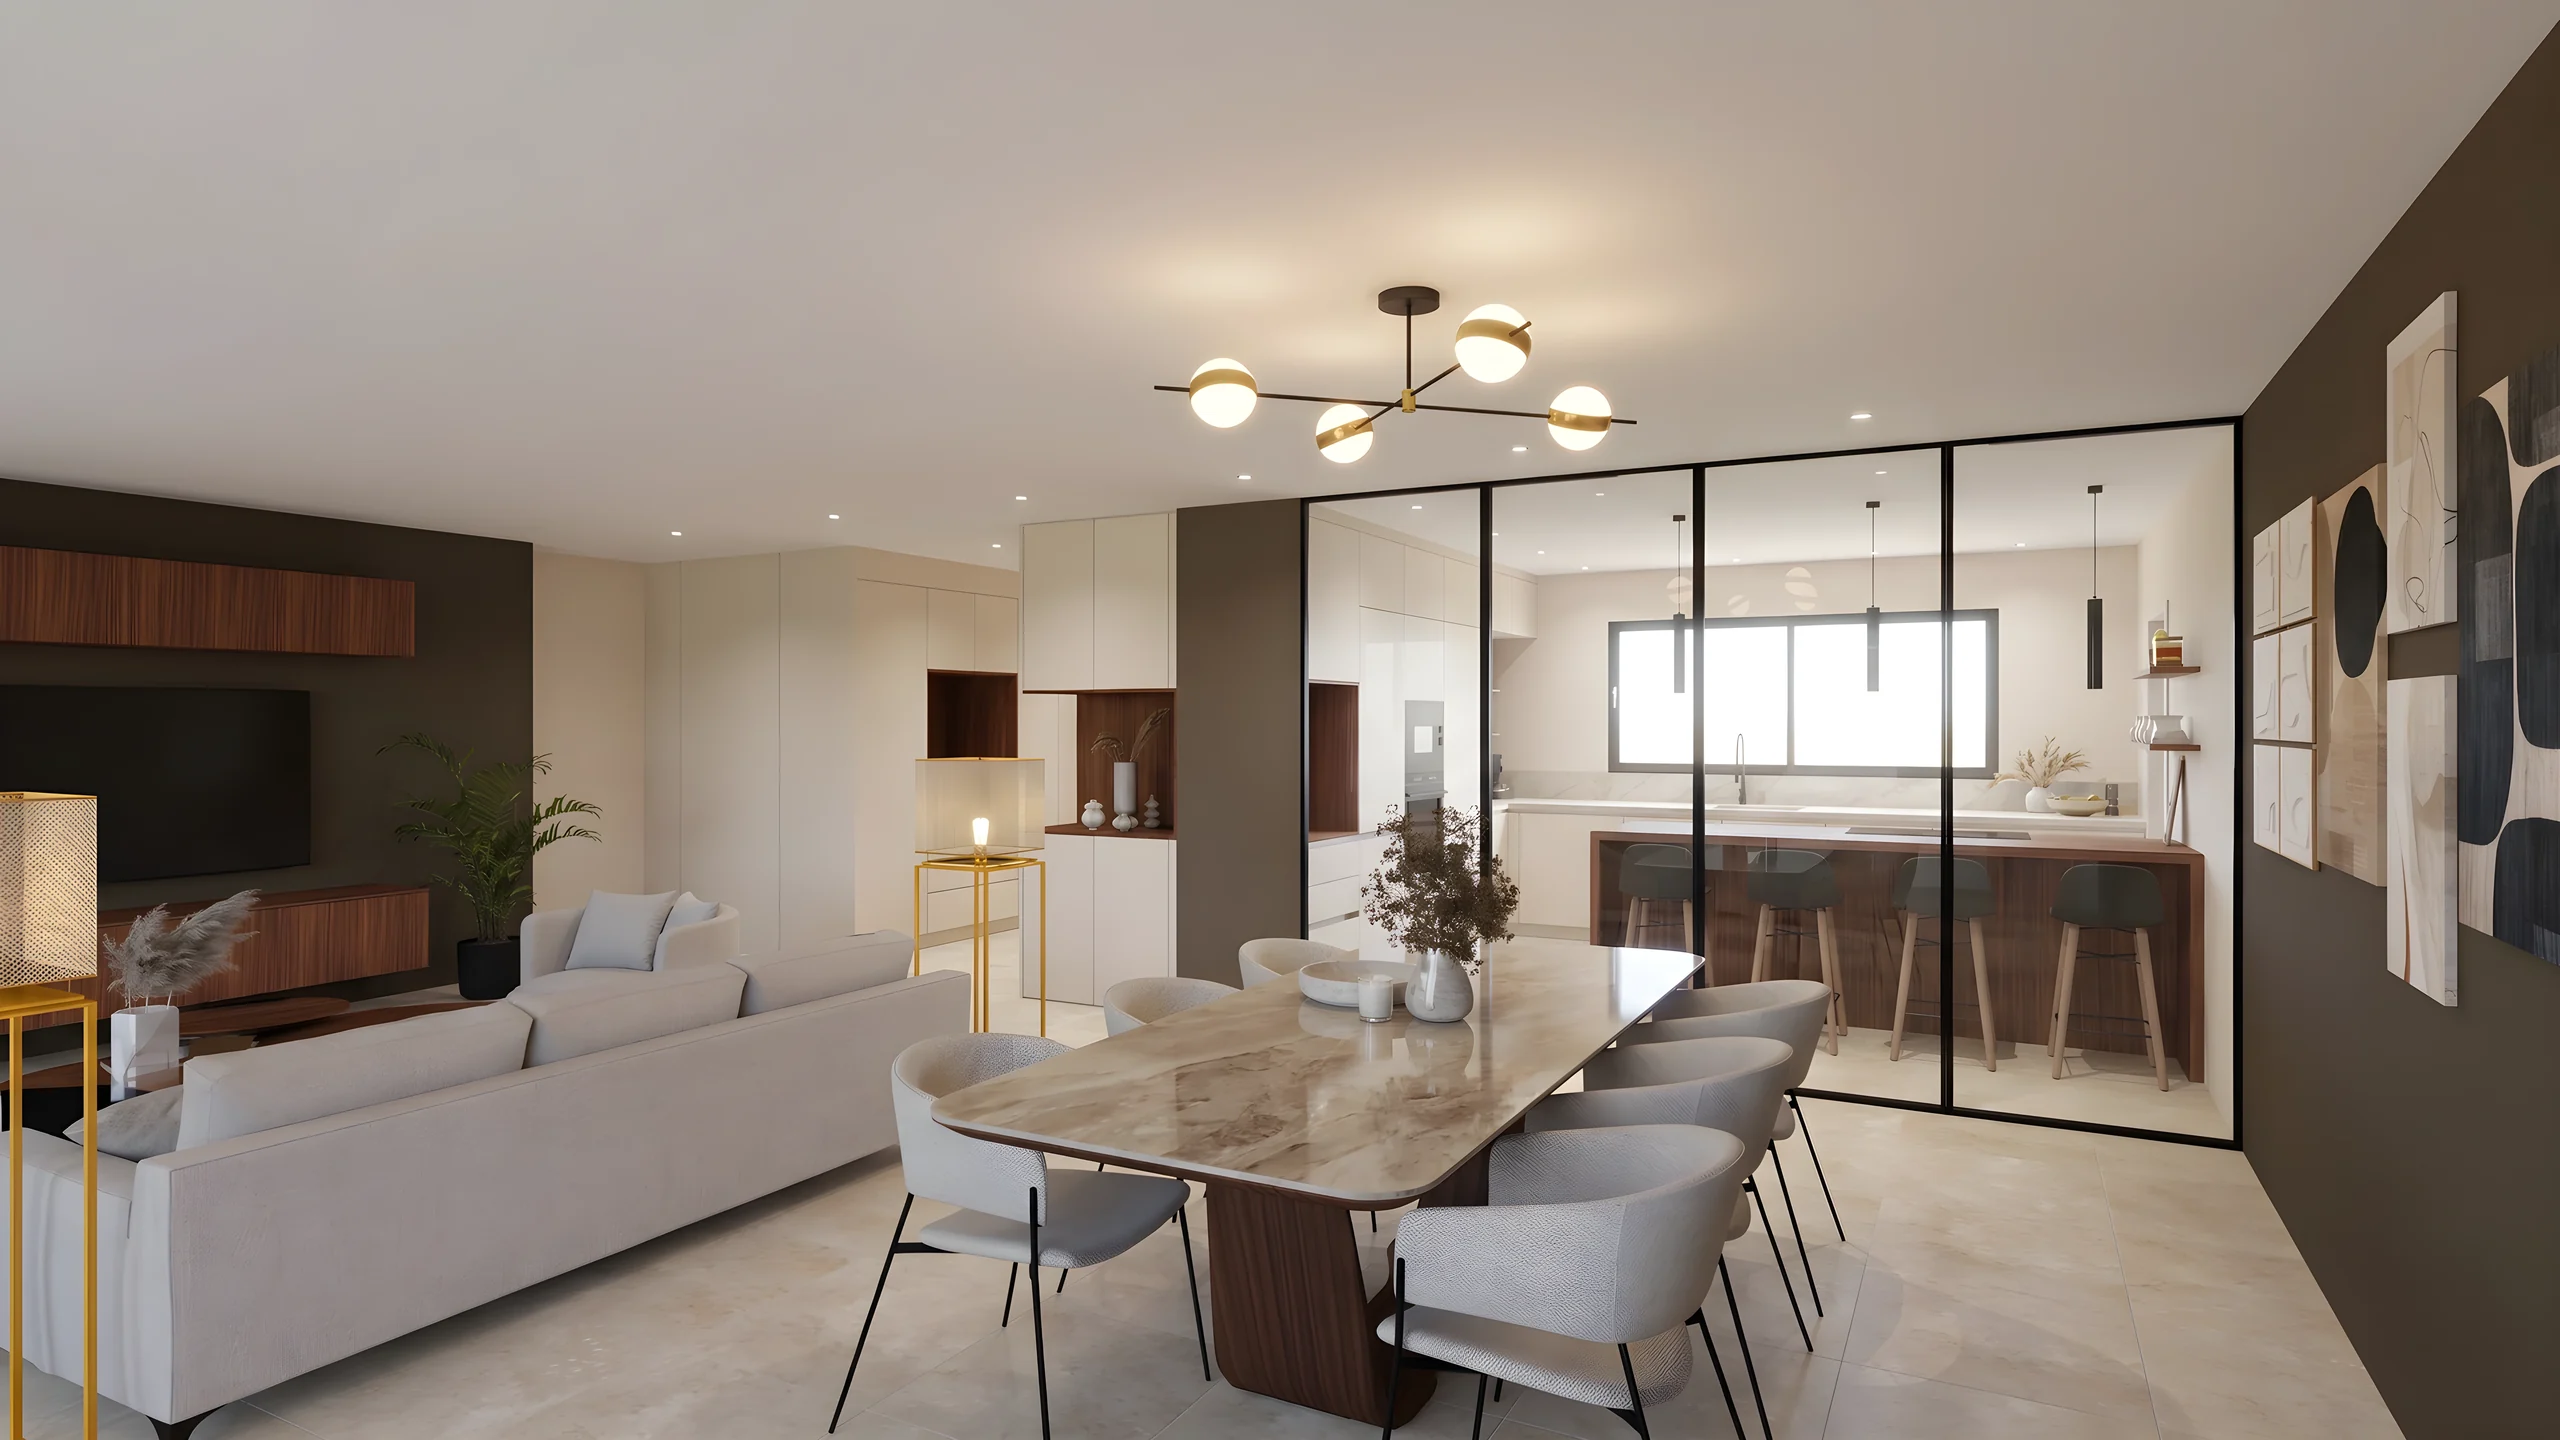
- Median 1K render, under 30 seconds
- 28 s
- Ready for large-format printing
- 8K
- Free trial, no commitment
- 14 days
One view exported from ArchiCAD is enough: photorealism is no longer a rendering engine matter.
An image of the 3D window, nothing else
Archicad has no RenderThink plugin, and the workflow needs none: you save the 3D window as an image, preferably PNG, at the highest resolution you are willing to wait for, and drop the file into the Studio. No .pln file is sent, no library and no render settings are required. The plugin exists for SketchUp, InSitu and KitchenDraw; from Archicad, dropping an image gives the same result.
Frame the 3D view and save it as an image
Camera at eye level, straight verticals, surface materials already applied: the render reads a light oak better than a neutral grey. Save the 3D window as PNG, at least 3,000 px wide.
Drop it in and start the render
Drag the image into the project, pick the resolution, from 1K draft to 8K, and start every room of a project at once. Each render comes back in about a minute, the computation runs on our servers.
Edit on the render, not on the model
Designate a zone with the brush or smart click and change the floor, a wall, a material or a product; add, replace or remove an object. The rest of the image does not move, nor does the Archicad model.
Present through a link
Gather renders, before-and-after comparisons and the mood board in a presentation shared by secure link, with a password and expiry if you wish. The client opens it on any screen, without an account.
What you do from Archicad
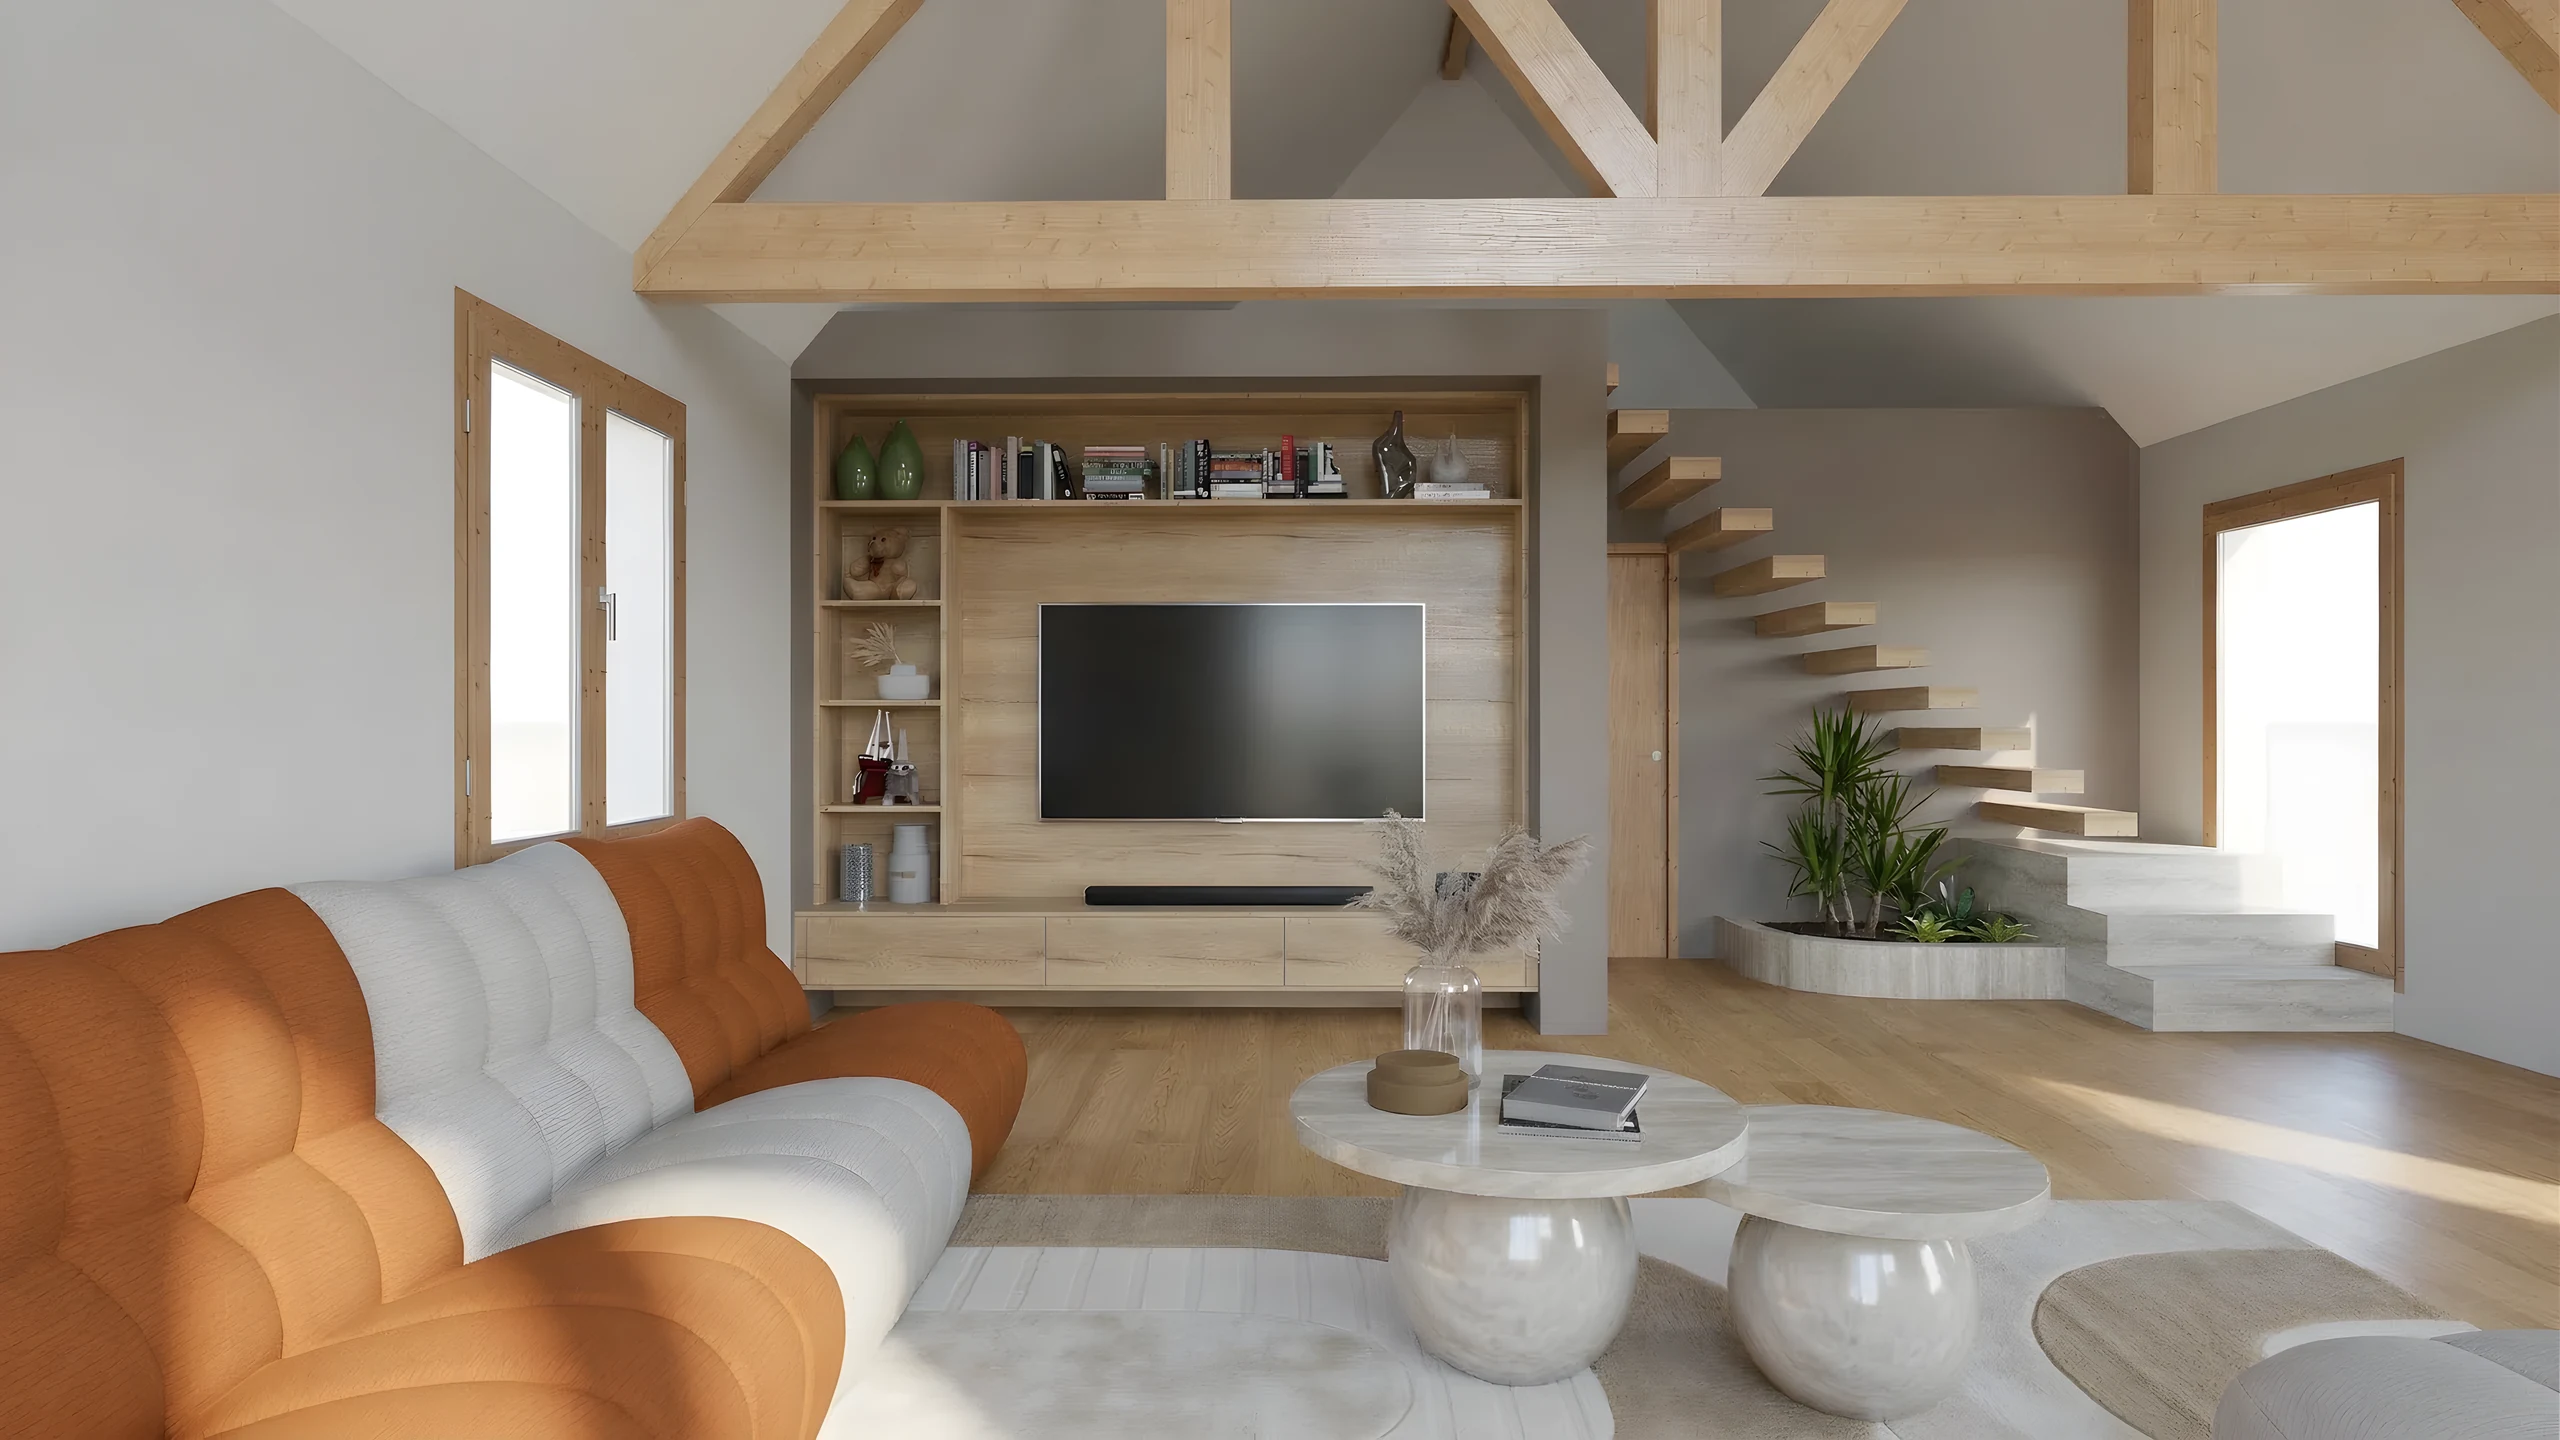 Photorealistic 3D renderingThe Archicad view becomes a photorealistic image, natural light and computed materials, up to 8K for print. Every room of a project starts as a batch.
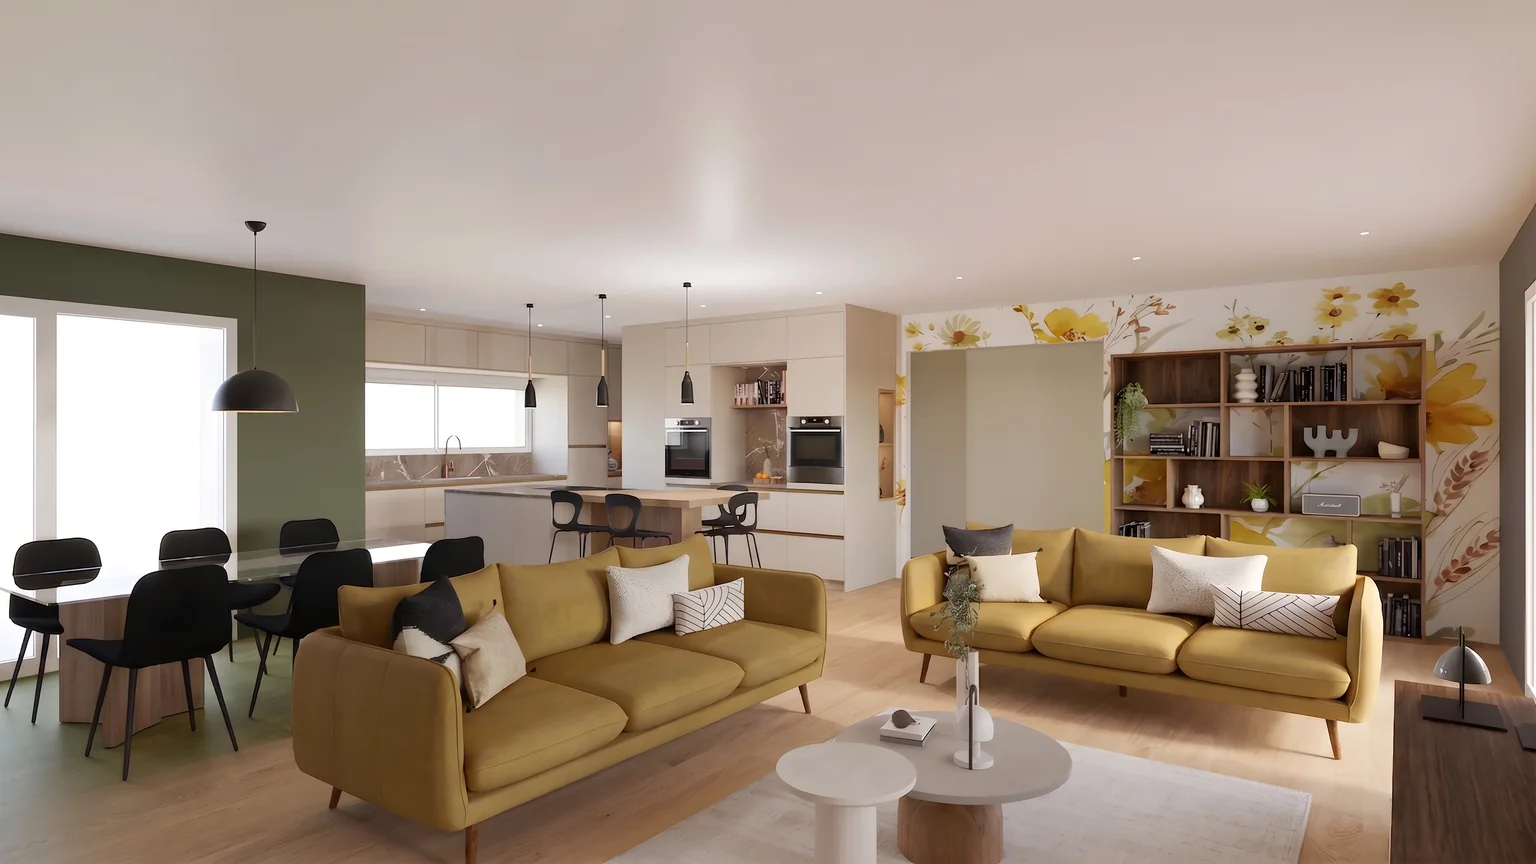 AI image editingParquet instead of tiles, a darker wall, another worktop: the designated zone changes on the render, without reopening the model.
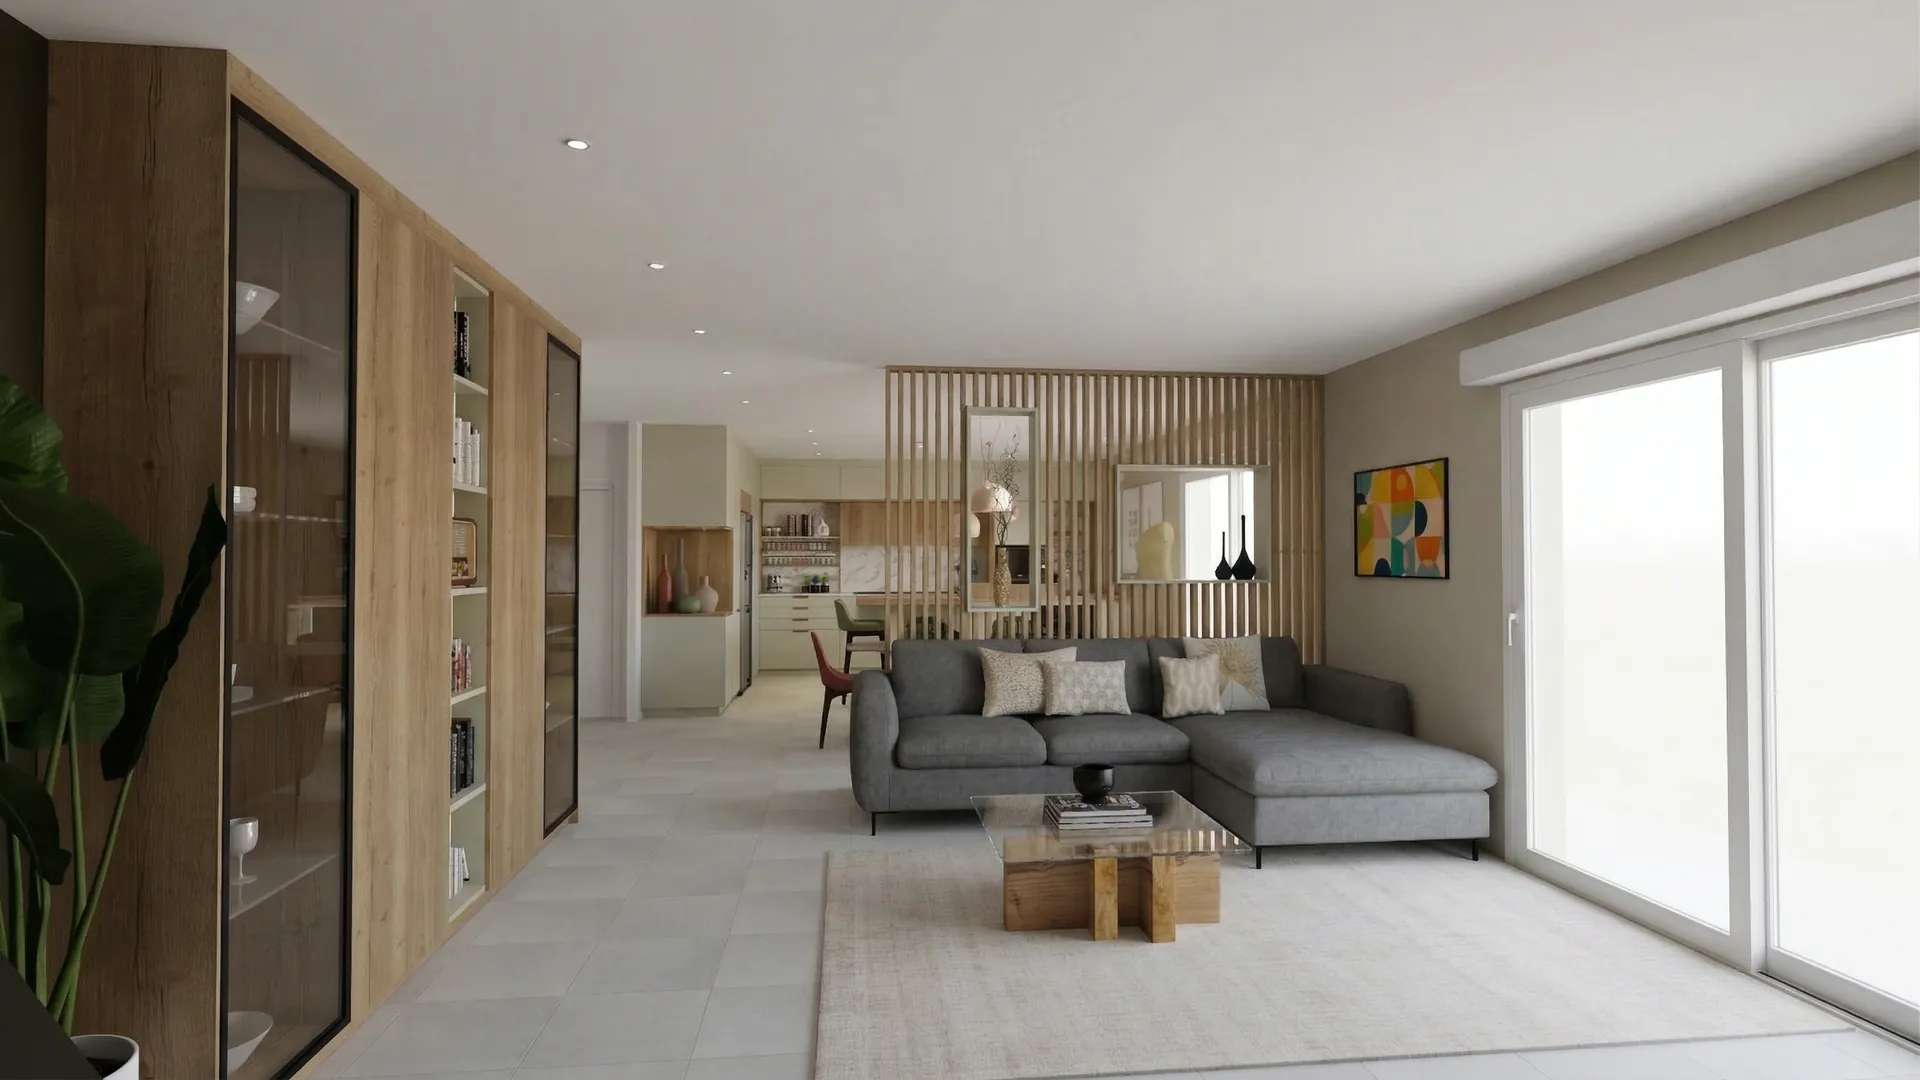 Client presentationA secure link in your colours, with before-and-after and 360° tour, readable on any screen. The client installs nothing and creates no account.
Who it is for
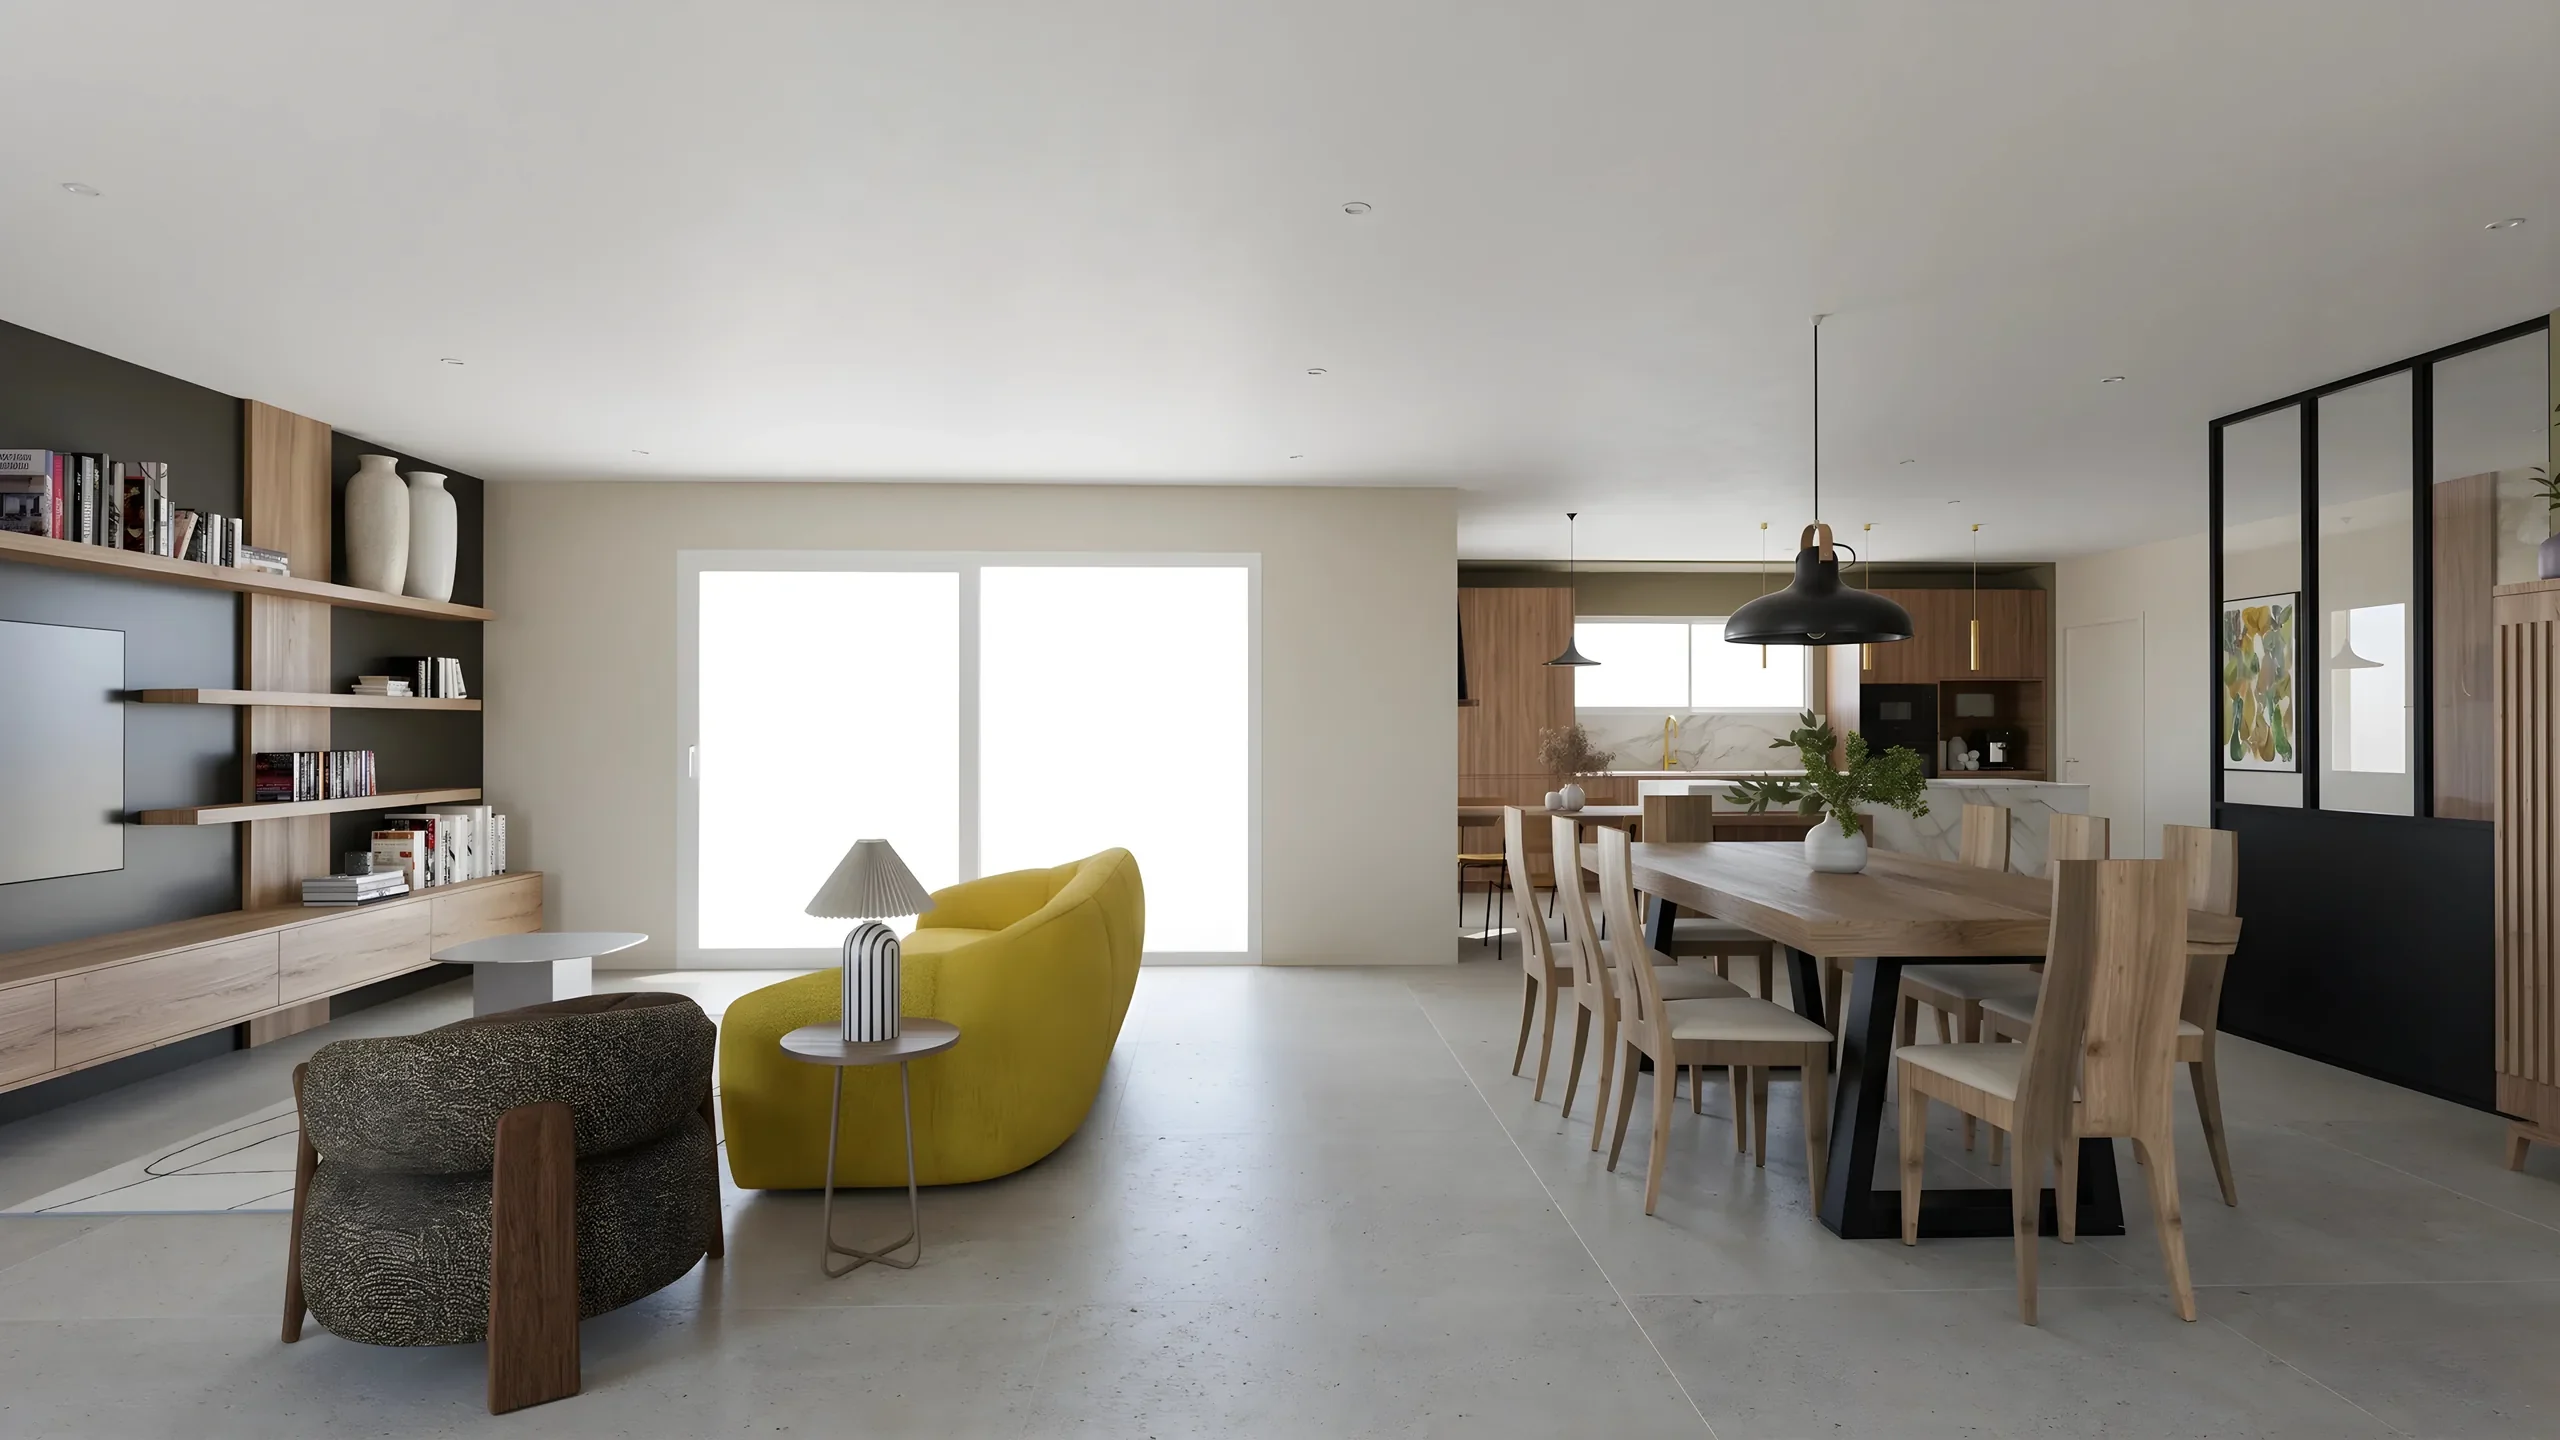 Interior ArchitectsPhotorealistic renders from your SketchUp or Revit exports, ready to present in minutes.
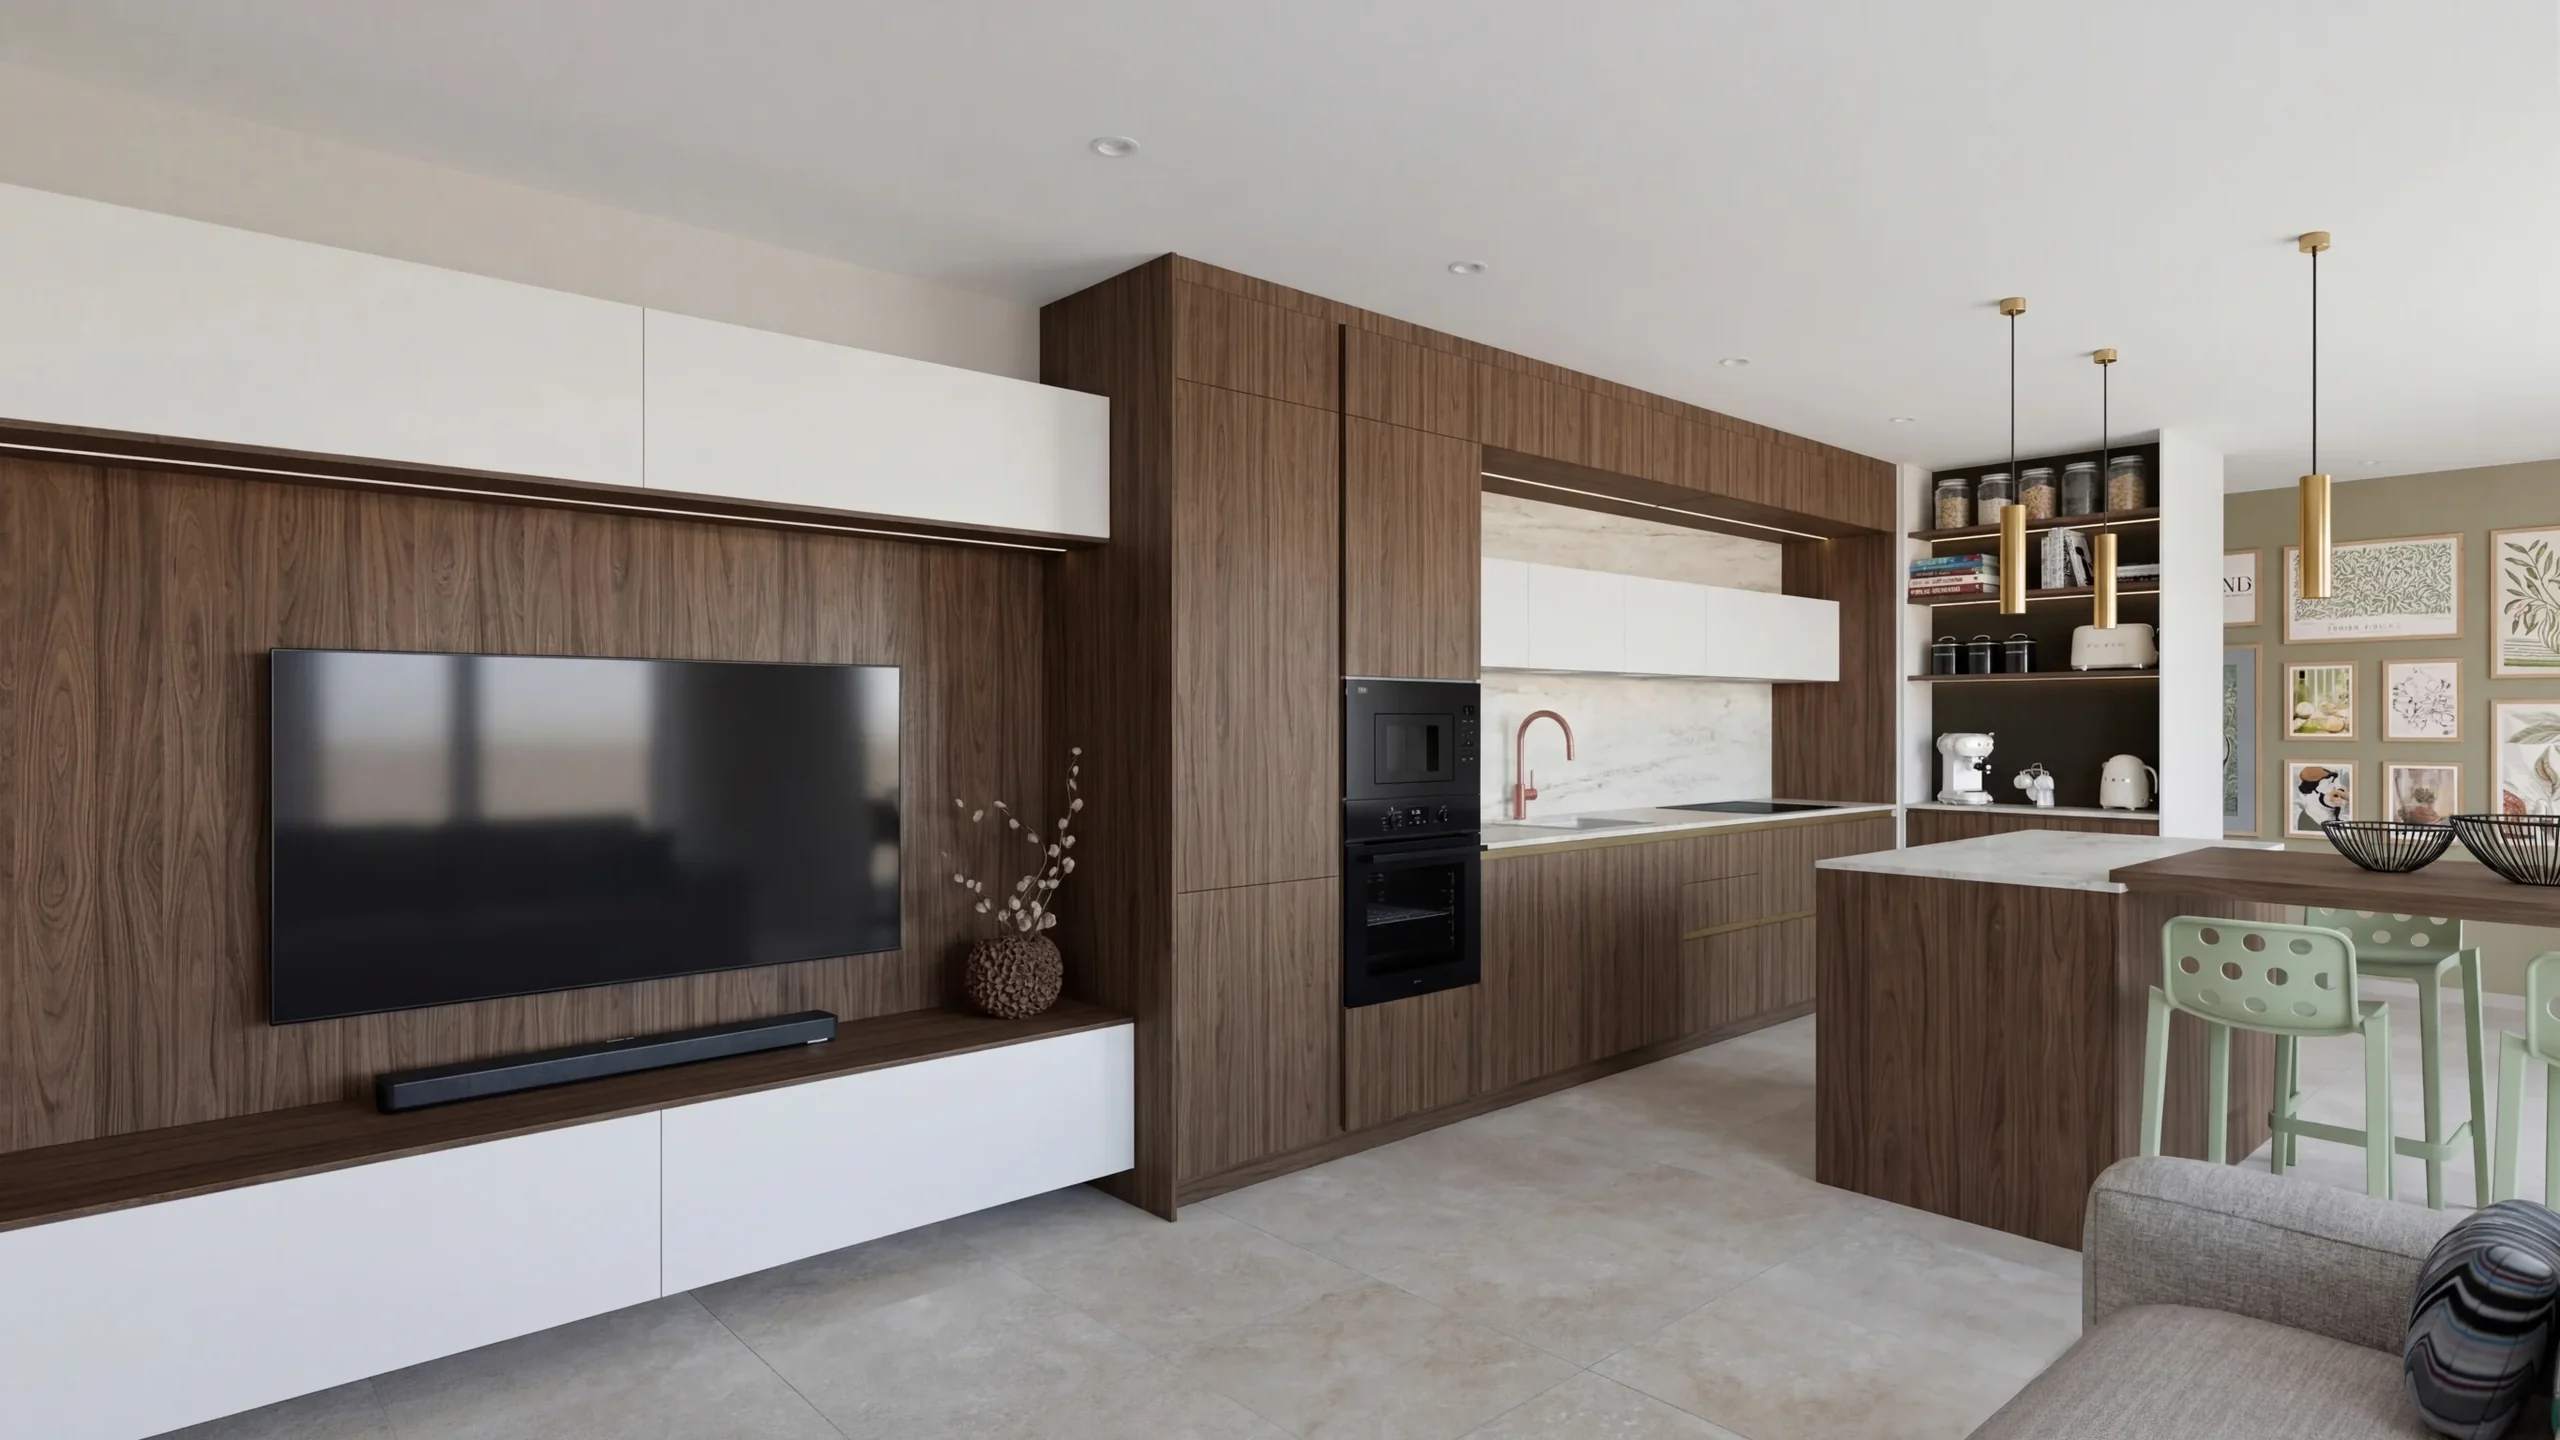 Space PlannersVisualize your office, retail and restaurant fit-outs and get them approved by your professional clients.
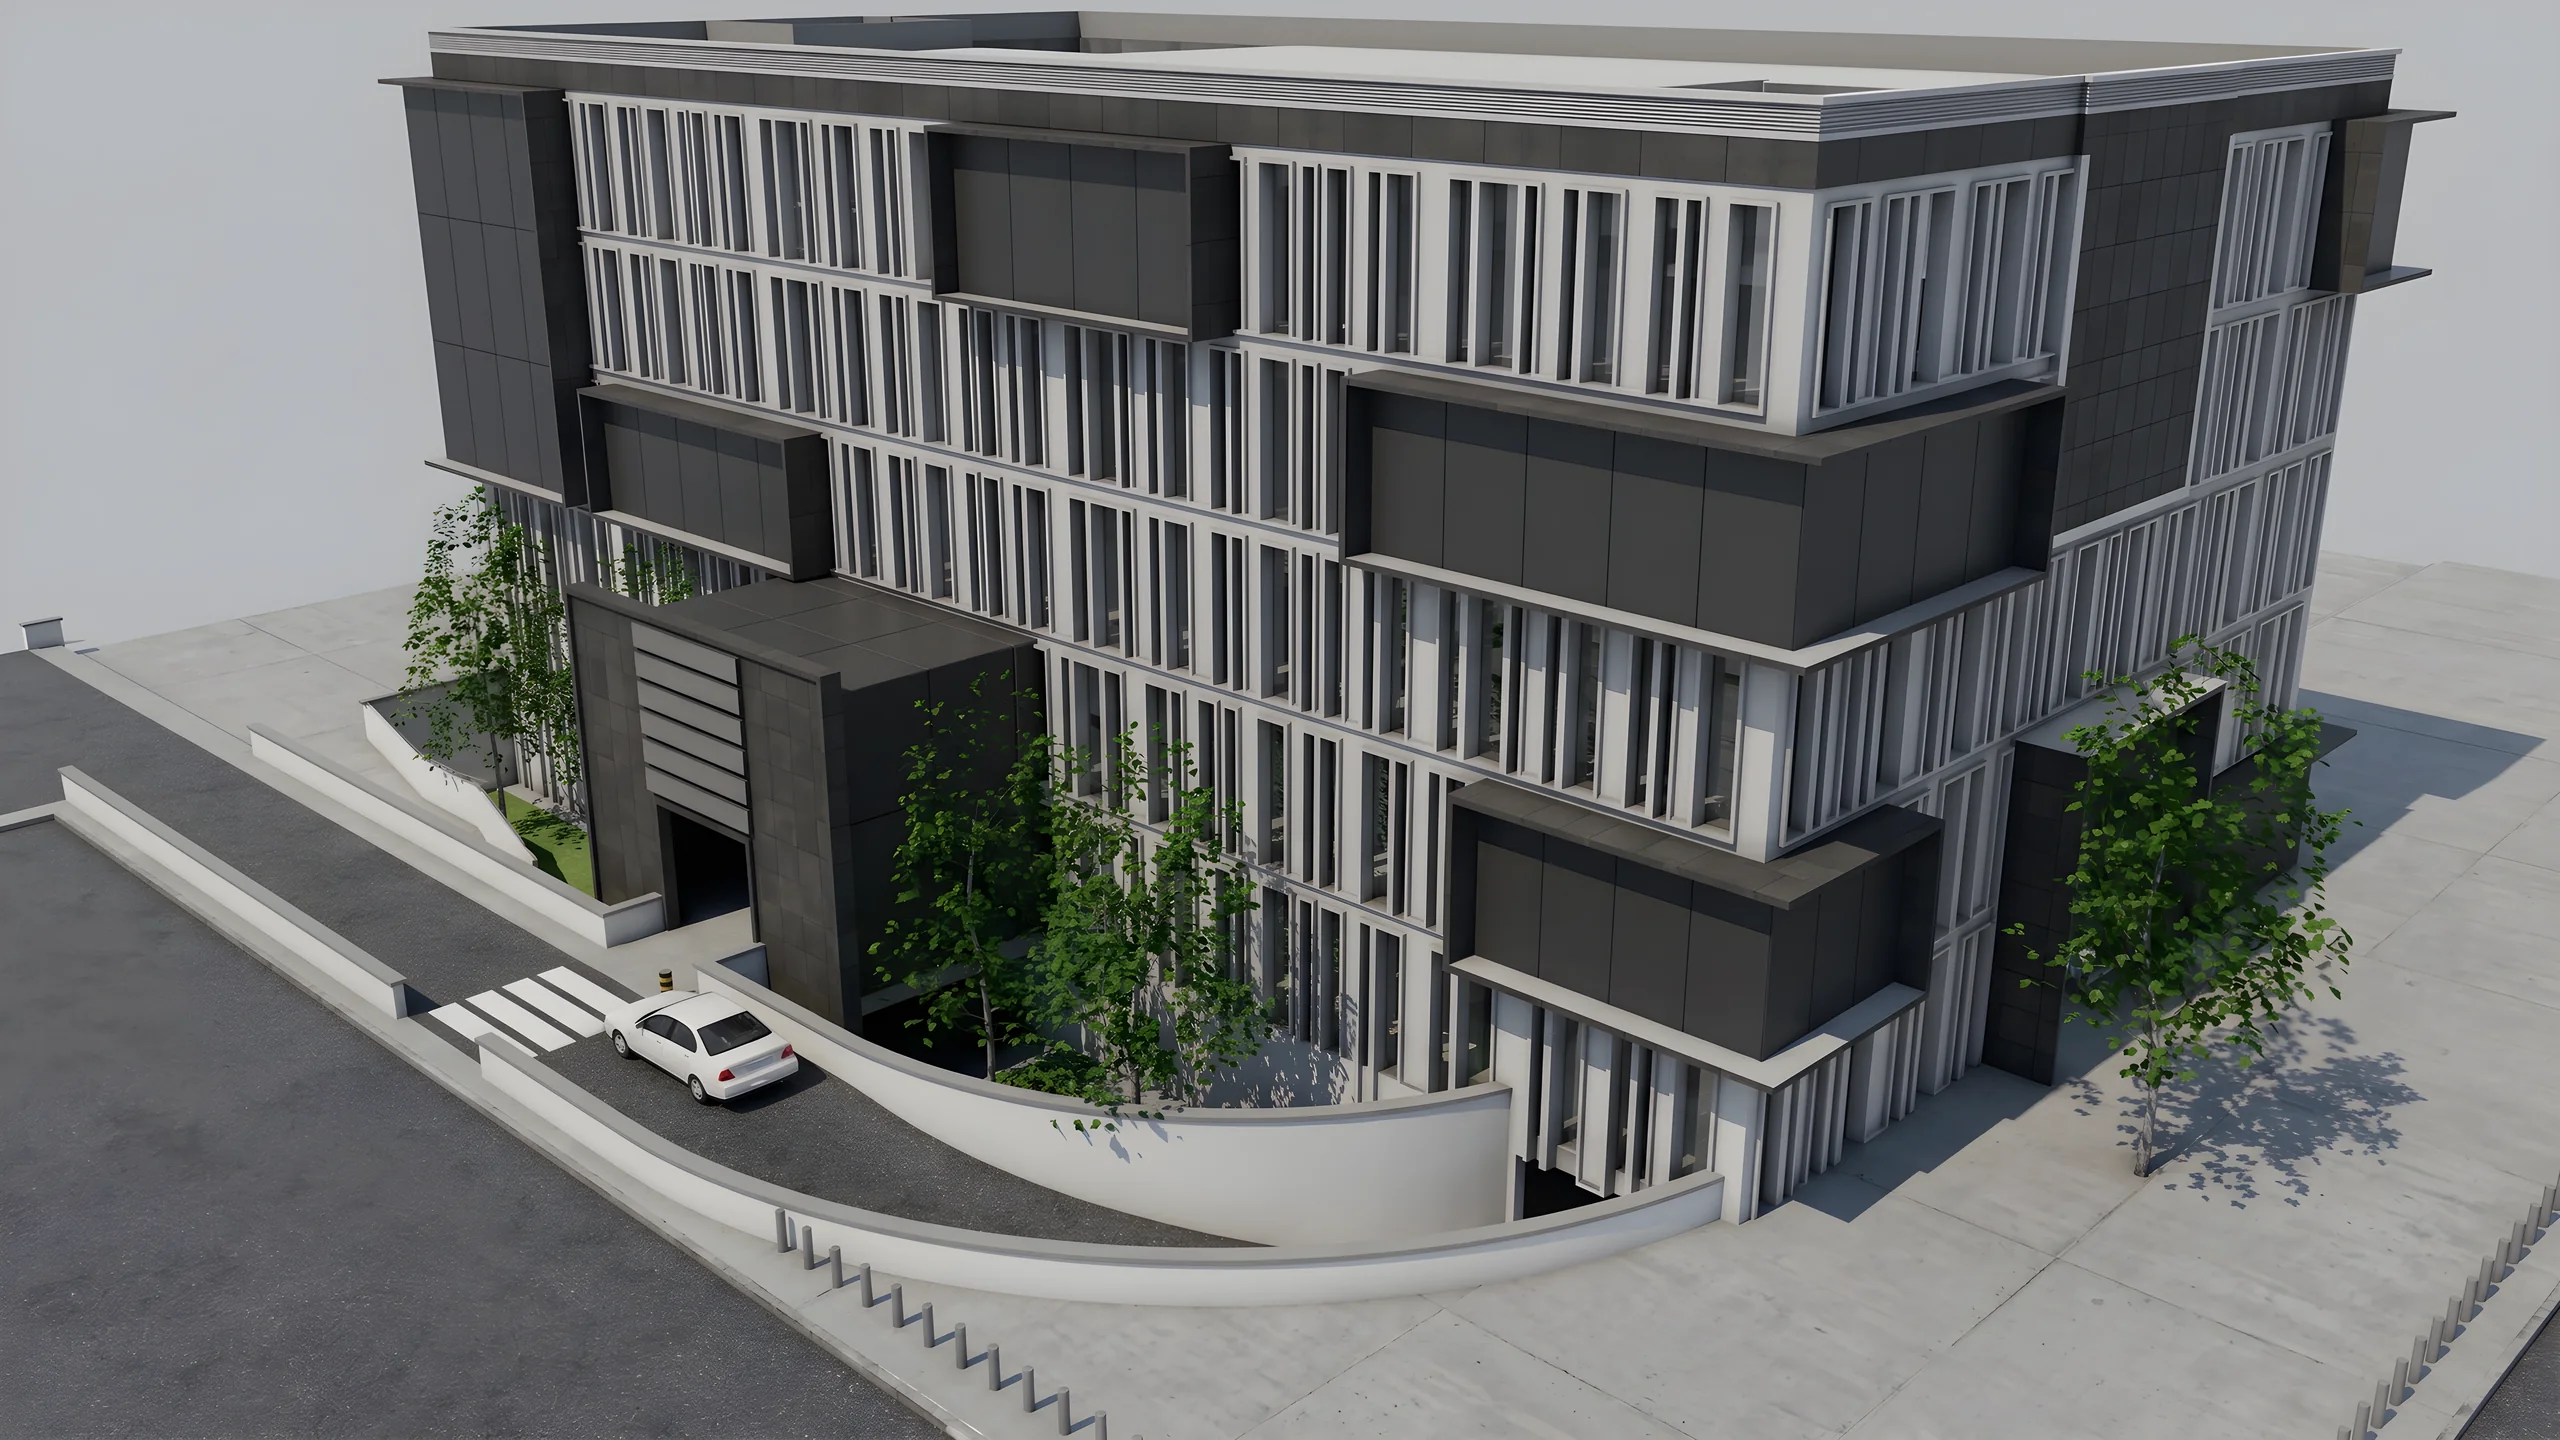 Property developersVisualize every apartment typology for off-plan sales, in minutes instead of weeks.
Read next
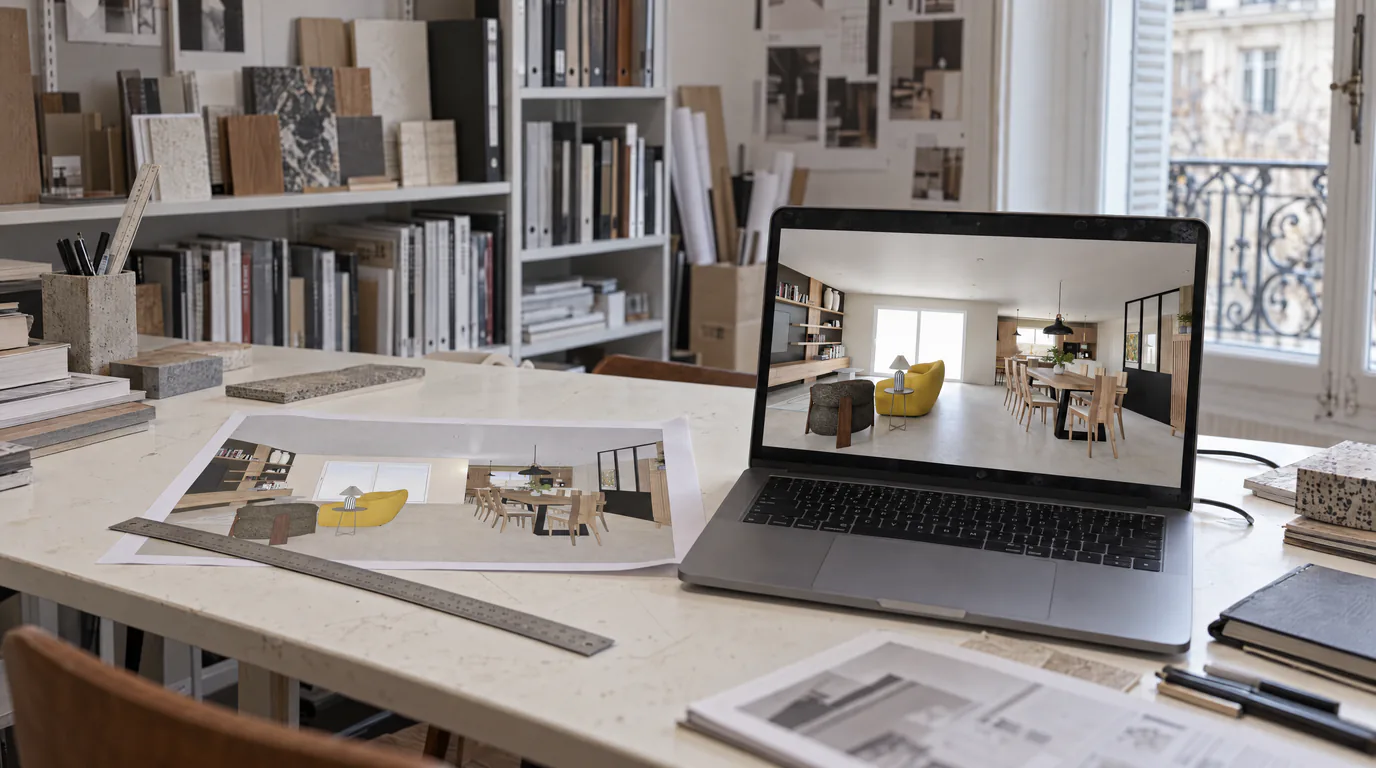 Use cases
Interior Architects: AI Photorealistic Renders in Under 1 Min
Transform your SketchUp, Revit or AutoCAD exports into photorealistic renders without GPU or training. Present same-day visuals.
 Guides
Lumion & V-Ray Alternative: AI Rendering, No GPU (2026)
License, high-end GPU and weeks of training: Lumion and V-Ray are expensive. Discover the AI alternative with no GPU that removes these barriers.
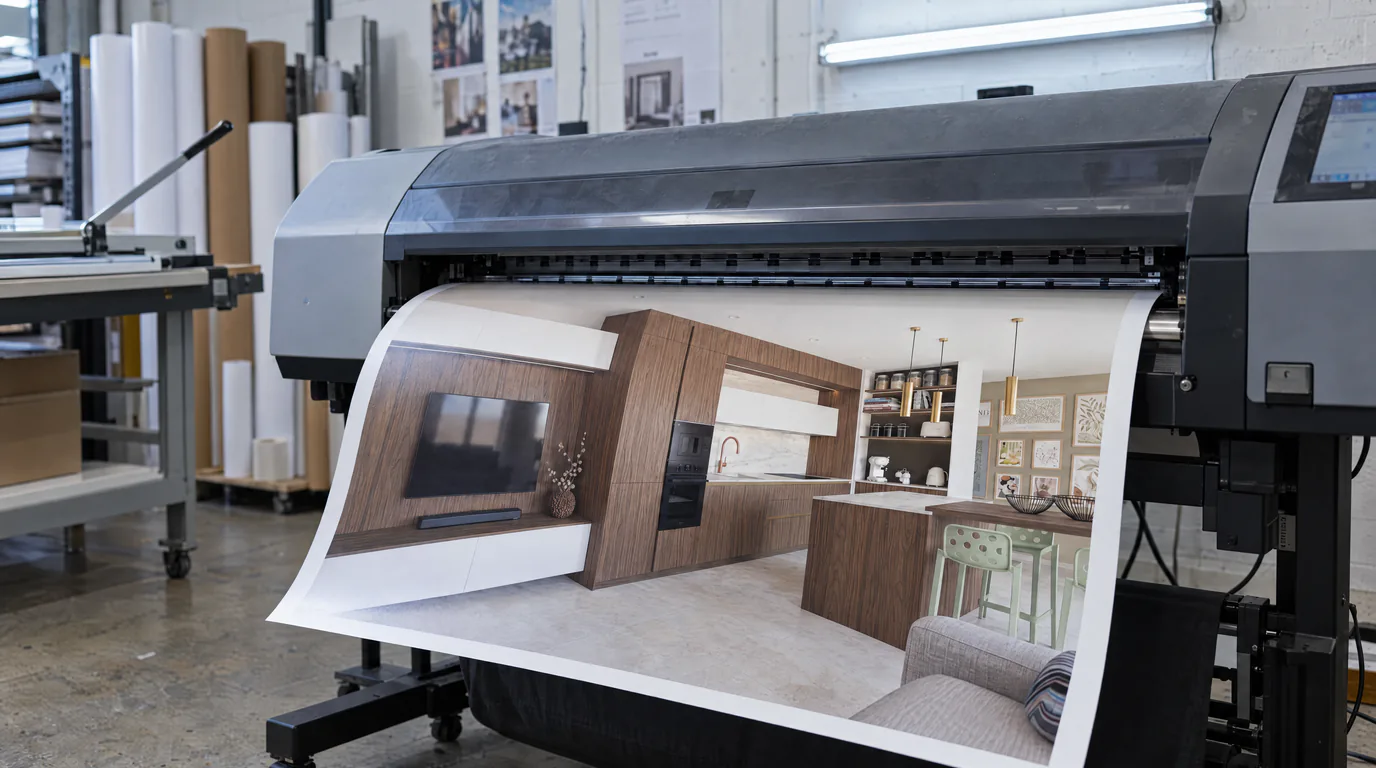 Guides
AI Photorealistic Rendering: Complete 2026 Guide
Learn how AI transforms a simple 3D export into a photorealistic image in under a minute. Complete guide with comparisons, workflow and practical tips.
Try it on your own project.
Import an export, start a render, edit one zone, share the link.
14 days, no commitment