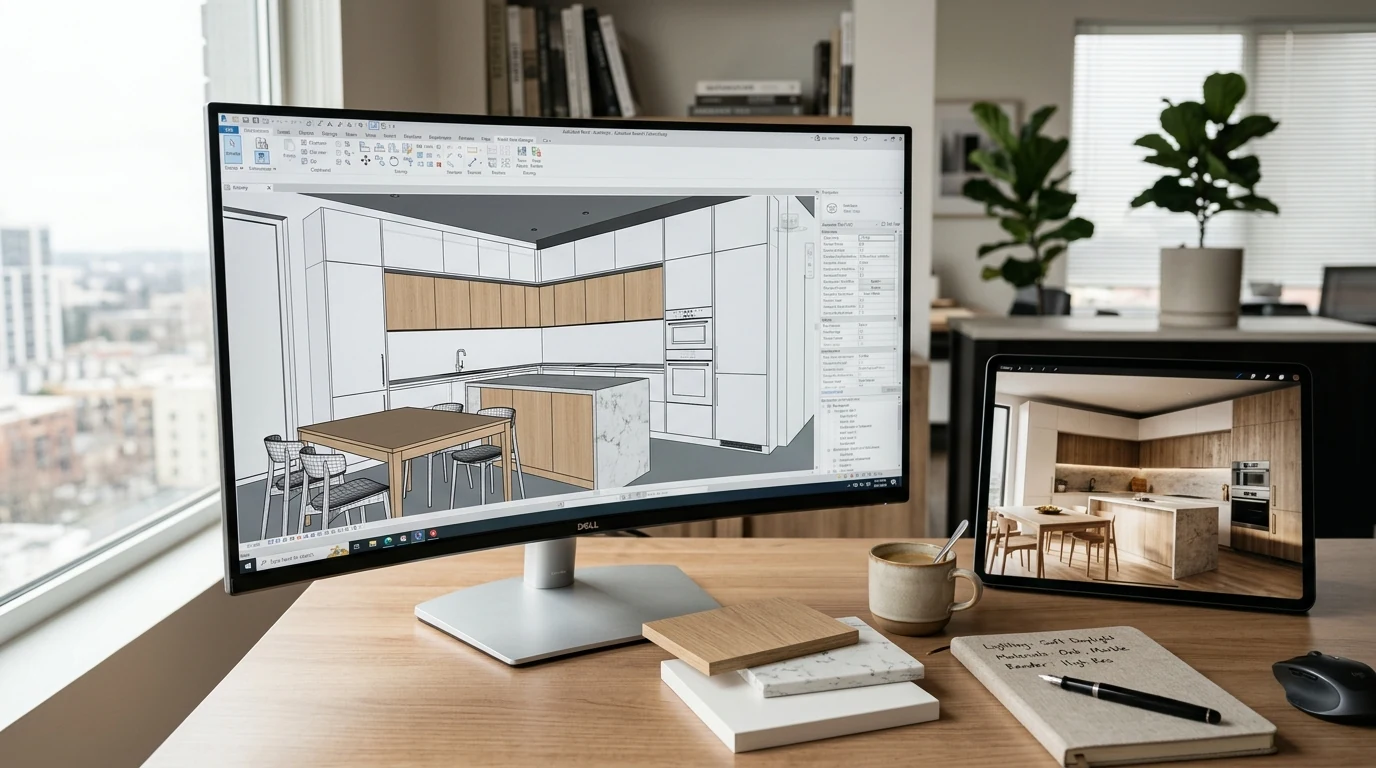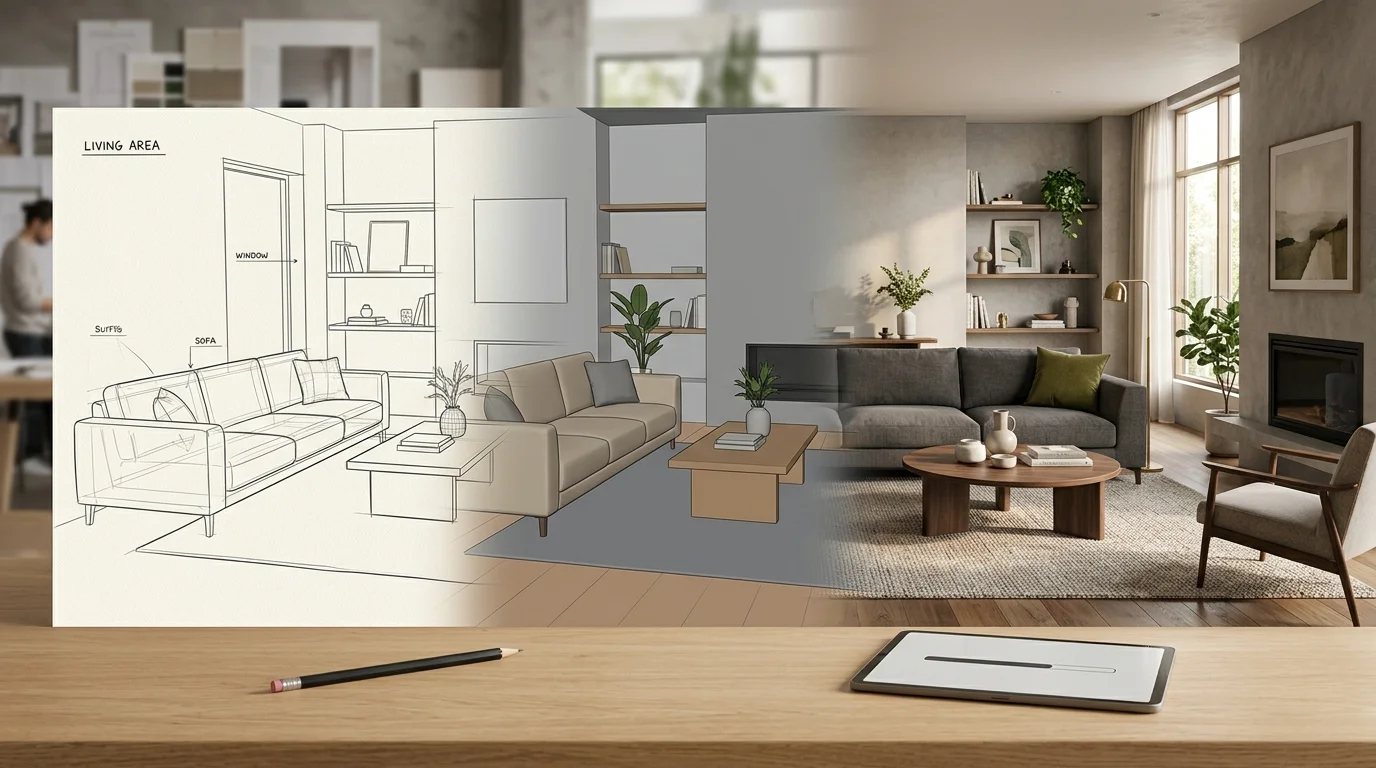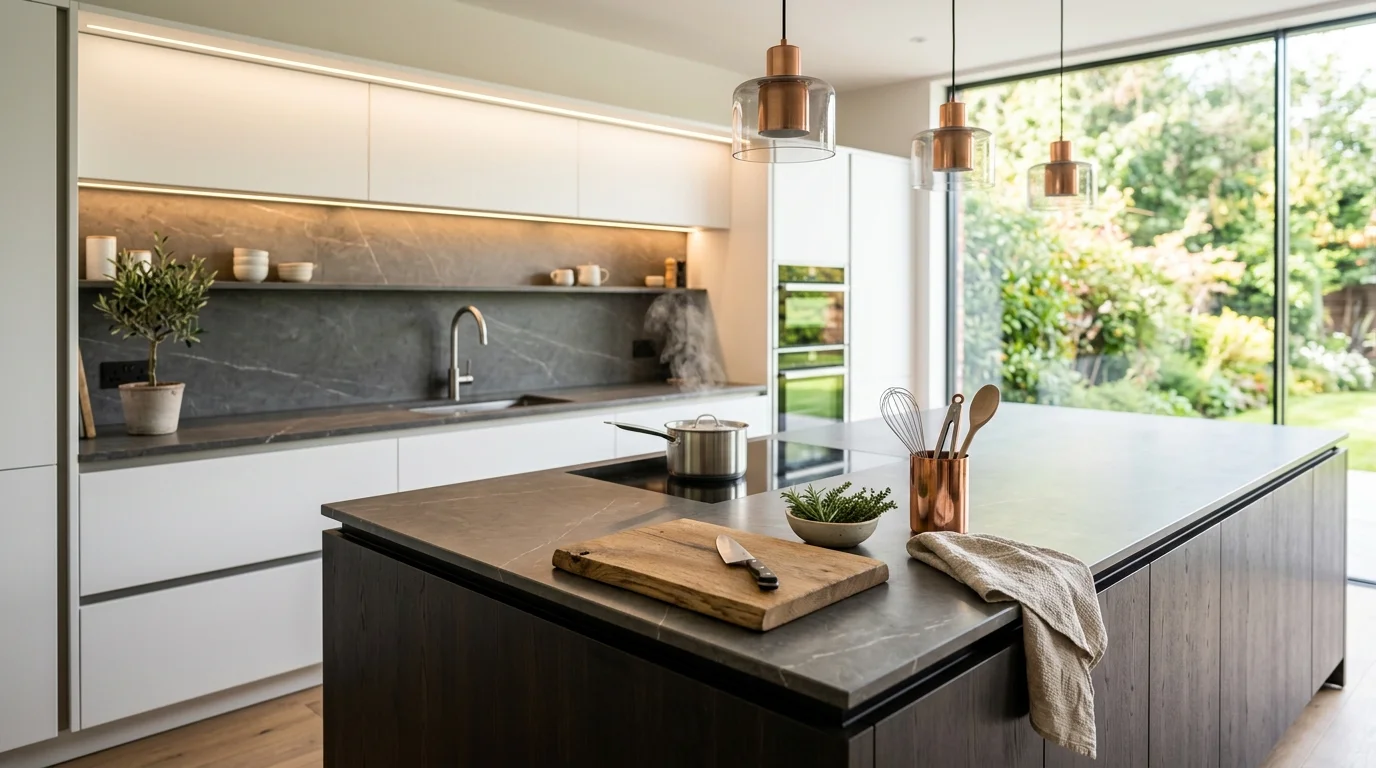
Do you use SketchUp, Winner Design, or InSitu daily to design your interior projects? You are not alone: these three software platforms dominate the European kitchen and interior design market. But between a raw export and a photorealistic render that closes a deal, there is a world of difference. In this article, we show you how to get the best out of each software, then how to transform your exports into stunning photorealistic visuals using AI.
SketchUp exports: how to optimize them for AI photorealistic rendering
SketchUp remains the go-to tool for its flexibility and massive community. But a default SketchUp export is rarely presentable to a client. Here is how to get the best possible starting point.
Resolution and format: always export as PNG with a minimum resolution of 3000x2000 pixels. Avoid JPEG, which compresses and degrades details. In SketchUp, go to File > Export > 2D Graphic, then click "Options" to set a custom resolution. The sharper your source image, the better the result after AI processing.
Framing and composition: place your camera at eye level (approximately 1.10 m from the floor) for a natural look. Avoid excessive top-down views that distort proportions. Use two-point perspective for perfectly straight vertical lines, a detail that makes all the difference in client presentations.
Scene lighting: enable shadows in SketchUp and position the sun to create coherent natural lighting. A scene that is too dark is the most common mistake: the AI needs to "see" your design to enhance it. Aim for balanced lighting with some shadow areas for depth.
Common mistakes to avoid: broken geometry (reversed faces, holes in walls) shows up in the final render. Clean your model before exporting. Also remove construction elements (guides, visible section planes) that clutter the image.
Winner Design exports: from kitchen 3D to photorealism
Winner Design is the essential software for kitchen designers and space planners across Europe. Its 3D exports are functional but often lack the realism needed to convince a hesitant client.
Resolution and format: in Winner, always use the maximum export resolution the software offers. If possible, export as PNG rather than JPEG. Winner's native resolution is sometimes limited, in that case, export the best available quality. The AI will compensate for some loss of detail, but a good base remains essential.
Strategic camera angles: for a kitchen, the three essential angles are the frontal view of the worktop, the view from the room entrance, and an angled view showing the overall volume. Winner allows you to save these viewpoints: build yourself a library of angles to save time on every project.
Materials and colors: apply materials as close as possible to the desired final result. Even though the AI will enhance the textures, it interprets a light oak better than a generic neutral gray. Take 2 extra minutes to choose the right materials in Winner, the final result will be noticeably superior.
Common mistakes to avoid: kitchen plans overloaded with elements (prices, dimensions, references) are difficult to process. Always export a "presentation" version without technical annotations.
InSitu exports: transforming perspectives into premium photorealistic visuals
InSitu is widely used by kitchen designers and retail space planners. The software produces correct perspectives but they are often flat, lacking the photorealistic touch that makes the difference.
Resolution and format: as with the other software, export as PNG at maximum resolution. InSitu typically offers 1920x1080 exports by default, go up to 3840x2160 if the option is available. Every additional pixel counts for the final quality.
Lighting management: InSitu offers lighting settings that are important to leverage. Add light sources (spots under wall cabinets, pendant lights above the island) to create depth. Careful lighting in InSitu allows the AI to produce far more realistic shadows and reflections.
Common mistakes to avoid: empty backgrounds or completely white walls without texture produce an artificial result. At minimum, add a wall color and a textured floor before exporting.
The AI rendering workflow: from export to photorealism in 3 steps
Once your export is optimized, the process is remarkably simple. You upload your image to the platform, choose the desired quality level, and the AI transforms your export into a photorealistic render. The result arrives in under 2 minutes, not hours.
Here is what changes concretely: materials become realistic with reflections, textures, and natural imperfections. Lighting is recalculated to simulate believable natural or artificial light. Proportions and perspective are preserved, but the scene gains life and depth.
The difference from a traditional rendering engine: where V-Ray or Lumion require hours of tweaking, AI rendering produces a comparable result in minutes with no GPU required. For a kitchen designer who needs to present 3 options to a client on Tuesday morning, that is a decisive advantage.
Post-render AI editing: refine materials and colors instantly
The initial render is just the beginning. AI editing then allows you to adjust materials and colors without starting over. Your client is torn between a marble countertop and granite? You change the material in a few clicks. They prefer darker cabinet fronts? You adjust the tone directly on the photorealistic render.
This editing capability completely changes the client presentation dynamic. Instead of preparing 3 static versions in advance, you can iterate in real time during the meeting. The client participates in the creation, visualizes the space better, and signs faster.
7 expert tips for the best AI rendering results
1. Compose like a photographer: apply the rule of thirds. Place key elements (central island, sofa, TV unit) on the power lines, not in the exact center of the image.
2. Light generously: a scene that is too dark produces a dull result. A slightly overexposed image is better than an underexposed one. The AI handles excess light better than lack of it.
3. Clean the geometry: visible artifacts (reversed faces, floating objects, holes) end up in the final render. Five minutes of cleanup upfront saves credits.
4. Choose materials close to reality: even basic ones, coherent materials guide the AI toward a better result than an all-gray model.
5. Export in high resolution: minimum 3000 pixels wide. This is the non-negotiable baseline for professional-quality photorealistic rendering.
6. Vary the angles: offer 3 to 5 views per project. Each angle tells a different story of the space and helps the client visualize the result.
7. Use editing to customize: do not settle for the first render. Material and color editing lets you tailor every visual to your client's exact preferences.
Improve your SketchUp and Winner renders today
Whatever your design software, the method is the same: a polished export plus AI rendering equals a photorealistic result that impresses your clients. You produce your visuals in minutes instead of spending hours on them, and you show your clients images that make them want to sign.
Try it yourself: take your latest project, export it following the tips in this article, and create your free account to see the difference. The result speaks for itself.