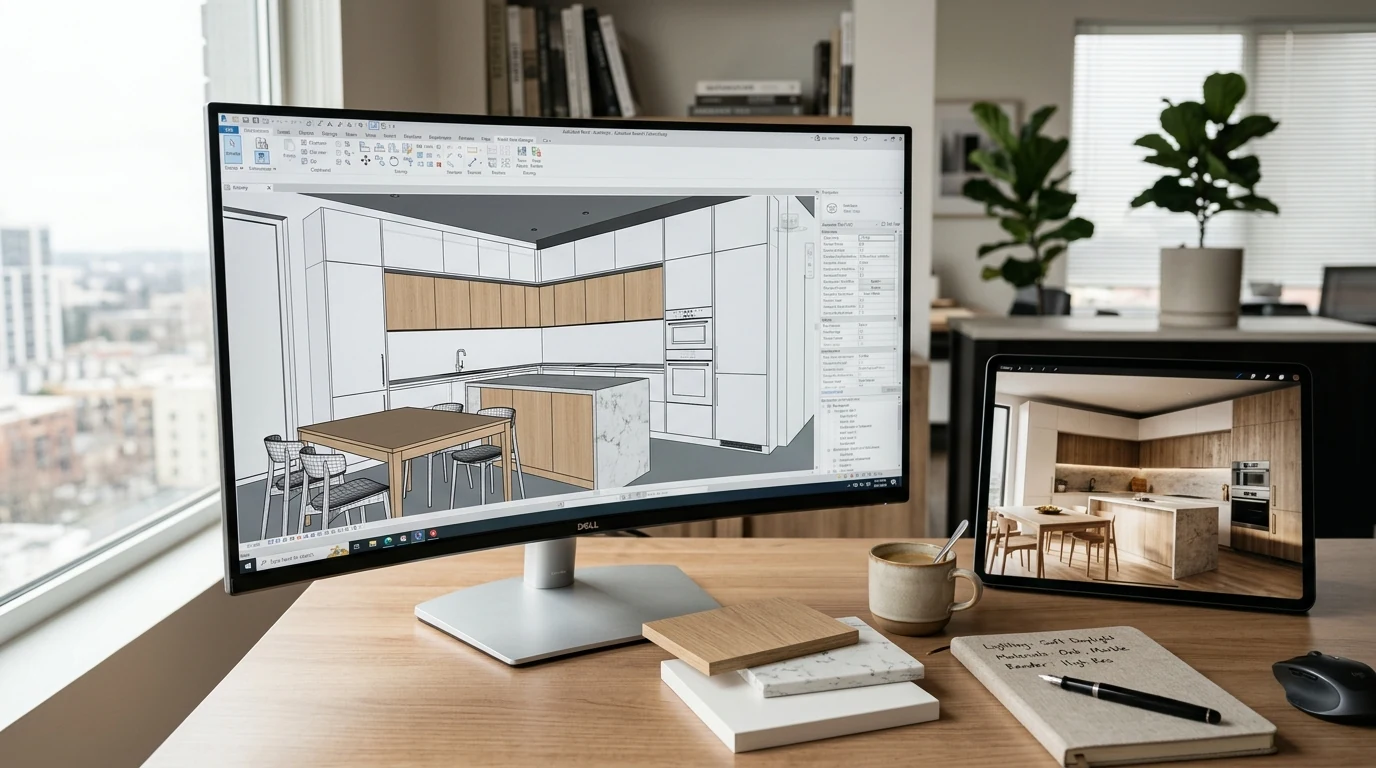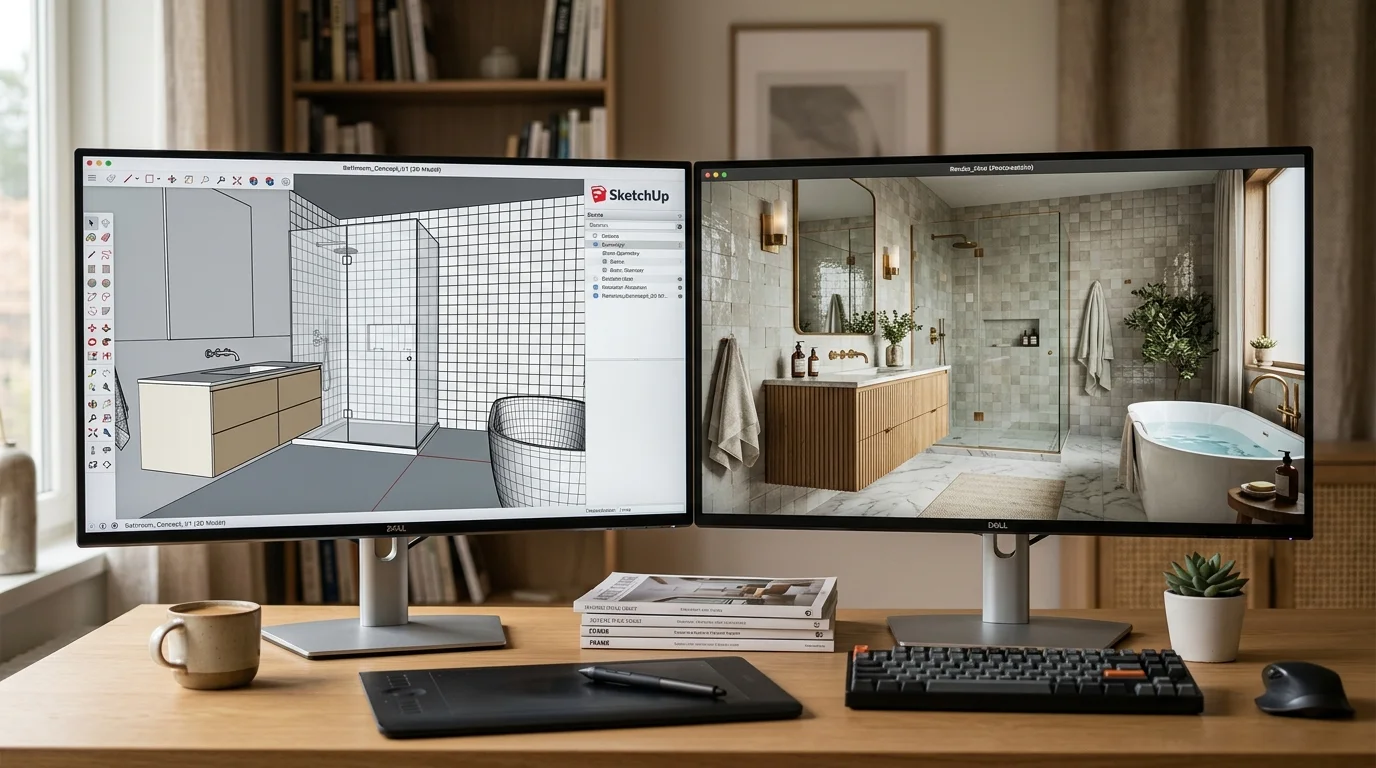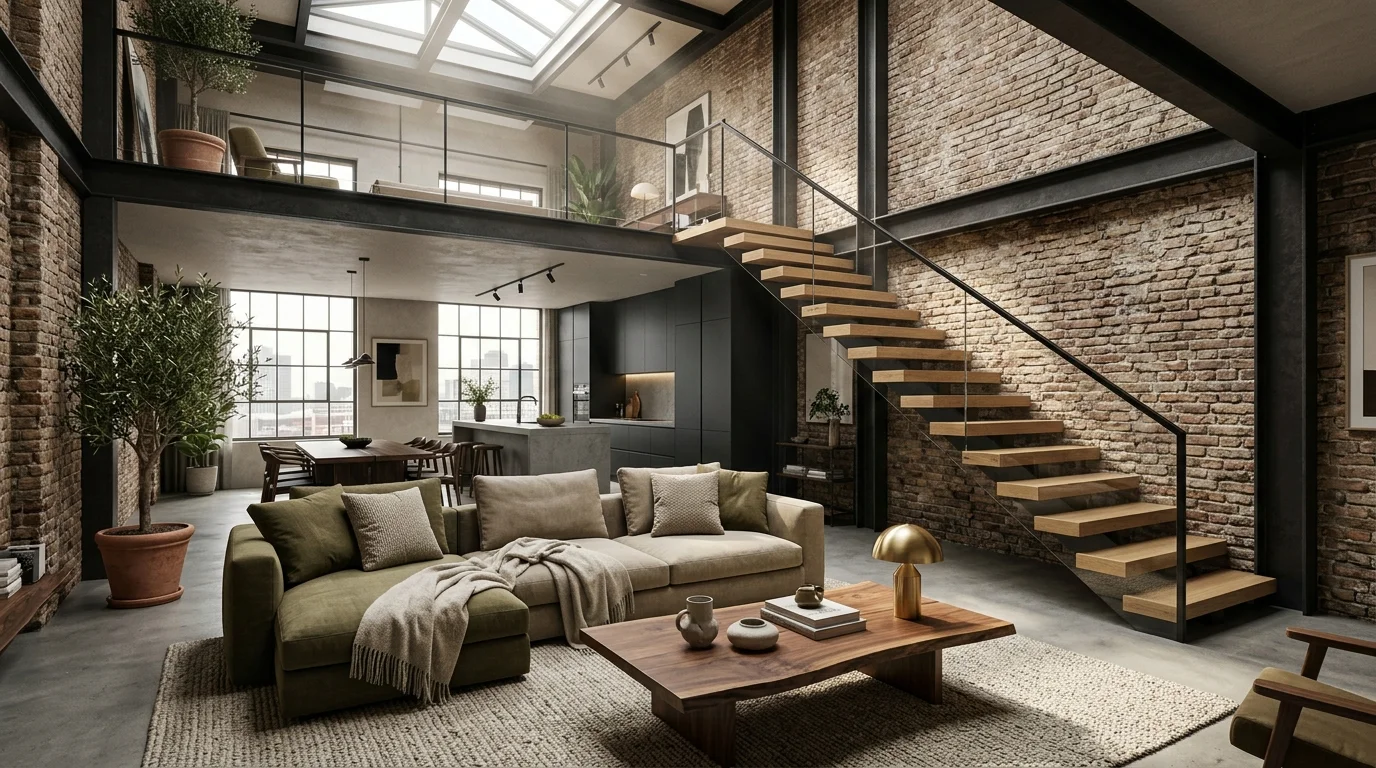
An immersive 360° view is worth far more than a sequence of still images. Plunged into the room, your client instinctively understands the volumes, distances and lighting atmosphere. It's also the format that turns a classic presentation into a true photorealistic virtual tour, with no VR headset and no extra software. In this article, we'll show you how to export a 360 panorama from your 3D software, push it through the RenderThink AI engine to make it photorealistic, then drop it into a 360 Tour section of your client presentation.
The 360 workflow: three steps, no software to install
The principle is simple and follows the same logic as a classic render: 3D export, AI processing, presentation insertion. Three steps, and you don't need any tool beyond your usual design software and RenderThink.
1. 360 panorama export from your 3D software (SketchUp, Winner Design, InSitu, Revit, Blender, 3ds Max, Twinmotion, ArchiCAD). No need for polished materials or perfect lighting: a raw export is enough.
2. RenderThink AI render that turns your raw panorama into a photorealistic 360 panorama. Same realistic materials, same natural lighting and same fine textures as for a classic RenderThink render, this time wrapped over 360°. To understand how the AI engine works in detail, see our complete guide to AI photorealistic rendering.
3. Drop it into a 360 Tour section of your client presentation: interactive viewer with fullscreen immersive mode on desktop, and gyroscope navigation on mobile. Your client walks through the room just like in a Google Street View tour.
Export a 360 panorama from your 3D software
Almost every modern 3D tool offers a panoramic export mode. Labels vary but the feature is almost always the same. If you want to dive deeper into the right export settings (resolution, framing, lighting) for your renders, we have a dedicated guide for SketchUp, Winner Design and InSitu that also applies to 360.
In your camera or render settings, look for one of these labels:
- Panoramic or 360 Panorama
- Equirectangular
- Mono Panorama (non-stereo render, that's the one you want)
Avoid Cubic, Cylindrical or Stereo Panorama modes: they produce files that RenderThink can't display as a virtual tour.
If your software has no native 360 export: look at free extensions (Panocapture for SketchUp, for example) or companion render engines (Enscape, Lumion, Twinmotion) that add this capability to tools like Revit or ArchiCAD.
Recommended settings
- Camera position: in the centre of the room. A panorama captured near a wall flattens the wall side and stretches the opposite side.
- Eye height: 1,450 to 1,600 mm, the height of a standing adult. Keep the same height on every panorama in the same project for a coherent tour.
- Resolution: 4096 × 2048 minimum. Aim for 6144 × 3072 or 8192 × 4096 for impeccable desktop immersive rendering, where the client can zoom in.
- Output format: high-quality JPG or PNG.
No need for a finished render. Don't waste hours tuning materials, textures and lighting: a raw panorama (volumes, basic shadows, simple colours) is enough. The RenderThink AI engine turns that structural render into a photorealistic visual, exactly like for a classic render.
From raw panorama to photorealistic visual with the AI
Pushing the panorama through the RenderThink AI engine is the step that changes everything. Your raw panorama, exported in a few minutes from your 3D software, becomes a photorealistic panorama with realistic materials, natural lighting, fine textures and believable reflections. The 360 format is fully preserved: 2:1 ratio kept, full 360° navigation on the result.
- Import your panorama into the relevant project.
- RenderThink automatically detects the 2:1 ratio and flags the image as a panorama (360° badge visible on the thumbnail).
- Run an AI render from this source image, just like for any RenderThink render.
- In under 2 minutes, the photorealistic panorama appears in your project gallery, also flagged as a panorama.
It's this photorealistic panorama you'll then drop into the presentation, not the raw export. Your clients see a finished space, not a coloured structural render. And as with other renders, you can always tweak materials, ambiance or colours afterwards using AI render editing.
Drop the panorama into a 360 Tour section
Once your photorealistic panorama is generated, plugging it into the presentation takes seconds:
- In the presentation editor, add a 360 Tour section.
- Click Choose a panorama and pick your photorealistic panorama from any of your projects. Only 2:1 images (with the 360° badge) appear in the picker.
- Adjust display options: auto-rotation, speed, initial viewing angle.
For your client, the experience is instant. On desktop, the panorama is embedded in the presentation with an Immersive mode button that switches to fullscreen. On mobile, a touch teaser invites them to open immersive mode, then the phone's gyroscope lets them look around by moving the device, just like a Google Maps virtual tour.
You can of course combine multiple 360 Tour sections in the same presentation to walk through every room of the project, alternating with your classic photorealistic renders, before/after shots and technical sections. To structure a client presentation that converts, see our professional client presentation guide or our article dedicated to kitchen showroom presentations.
Why 360 closes deals faster
A classic still-image presentation forces the client to mentalise circulation, volumes and distance perception. A 360 tour removes that projection effort: the client is physically inside the space, looking wherever they want, taking in the actual proportions. It's a decisive argument when presenting a high-end fit-out, a custom kitchen or a complex interior architecture project.
Three concrete benefits the pros who adopted 360 report to us:
- Fewer back-and-forths: the client understands the space at the first presentation, no need to revisit the model three times to clarify volumes.
- Clients project at home: the secure share link lets your client revisit the room from home, in the evening, with their partner, architect or decorator. The decision matures outside the meeting.
- "Wow" differentiator: very few kitchen designers, space planners or architects offer photorealistic 360 tours yet. It's an immediate edge over the competition.
Frequently asked questions
Which export format should I choose for a 360 panorama?
Pick the Equirectangular mode (or Panoramic, 360 Panorama, Mono Panorama depending on your software) in high-quality JPG or PNG. Avoid Cubic, Cylindrical and Stereo Panorama modes which are not compatible with the RenderThink 360 viewer.
What resolution is recommended for a 360 panorama?
4096 × 2048 minimum. For impeccable desktop immersive rendering, where the client can zoom in, aim for 6144 × 3072 or 8192 × 4096. Resolution is more critical on a panorama than on a classic render because the same image covers 360° on screen.
Does the AI render work as well on a panorama as on a classic render?
Yes. The RenderThink AI engine processes the 360 panorama like any other source image: materials, textures, lighting and reflections are recomputed for a photorealistic result. The 2:1 ratio and equirectangular projection are preserved, so the result panorama is directly usable in a 360 Tour section.
Can my old classic renders be converted to 360?
No, the 360 panorama must be natively exported from your 3D software in panoramic mode. A classic 2D image (16:9 or 4:3) doesn't contain the spherical information needed for a 360 tour. Plan to enable panoramic mode in your software during the modelling phase of the projects you want to present as virtual tours.
Can my client view the 360 tour without installing an app?
Yes. The presentation is shared via a secure link. Your client opens the link in their browser (desktop or mobile), no installation or VR headset needed. On mobile, the phone's gyroscope is used automatically for immersive navigation.
Try the 360 tour on your next project
The 360 format transforms how clients perceive your project and completes a presentation that moves from static 2D to a true immersive experience. No dedicated GPU, no VR training, no extra software to install for you or your clients.
If you're new to RenderThink, the free trial lets you test the full workflow: 360 panorama export from your 3D software, AI photorealistic render in under 2 minutes, presentation creation and secure share link.